Active Directory Sites and Services – Section Overview
Instructions
Q&A (0)
Notes (0)
Resources (0)

Saving Progress...
Resources
There are no resources for this lesson.
Notes can be saved and accessed anywhere in the course. They also double as bookmarks so you can quickly review important lesson material.
IMPORTANT: You do NOT need to create any NAT networks if you're using the online Server Academy IT labs. We have already done that work for you.
In this lecture, we are going to be covering Active Directory Sites and Services.I am going to be giving you an introduction as to what Active Directory Sites and Services are and we are going to cover an overview of this section and what you are going to be learning.

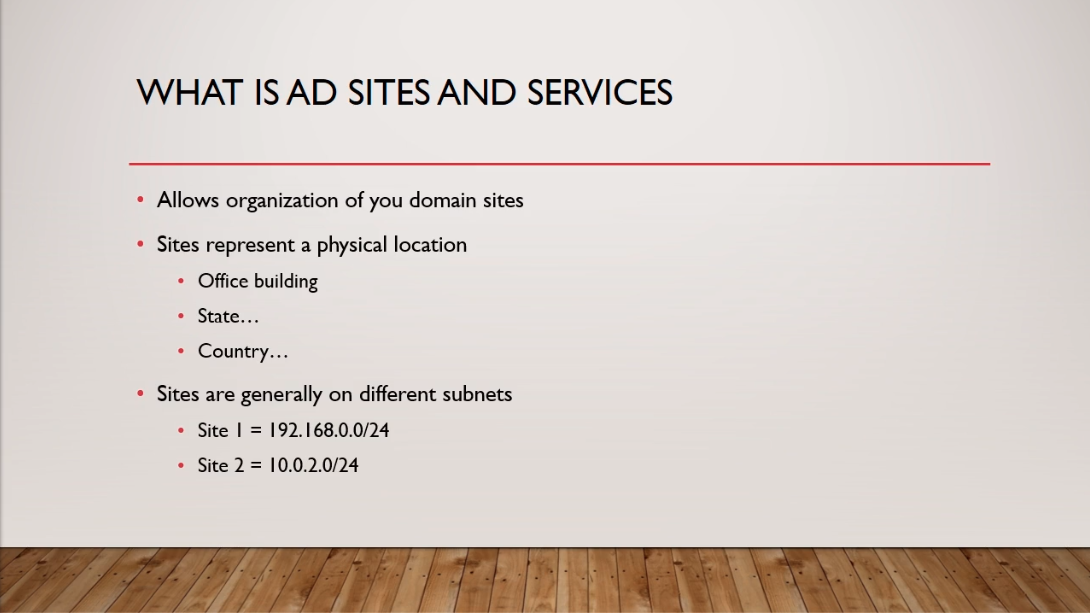
Now, let’s start with what Active Directory Sites and Services are. Put simply, it's a tool that allows you to organize your Domain Sites.
You might be wondering what a Domain Site is? Well, a Site represents a physical location. I like to think of this as an Office Building, it could be in a different state or a different country. So, let’s say you have these two office buildings and are located one in Virginia and one in New York. Each office building will represent a different Site.Now, Sites are generally on different subnets. So, Site 1 could be on a subnet 192.168.0.0/24, and Site 2 could be on subnet 10.0.2.0/24. These are just random theoretical subnet numbers that I am throwing out there. Generally, you have these workstations, these Sites, on two different subnets that are connected together.
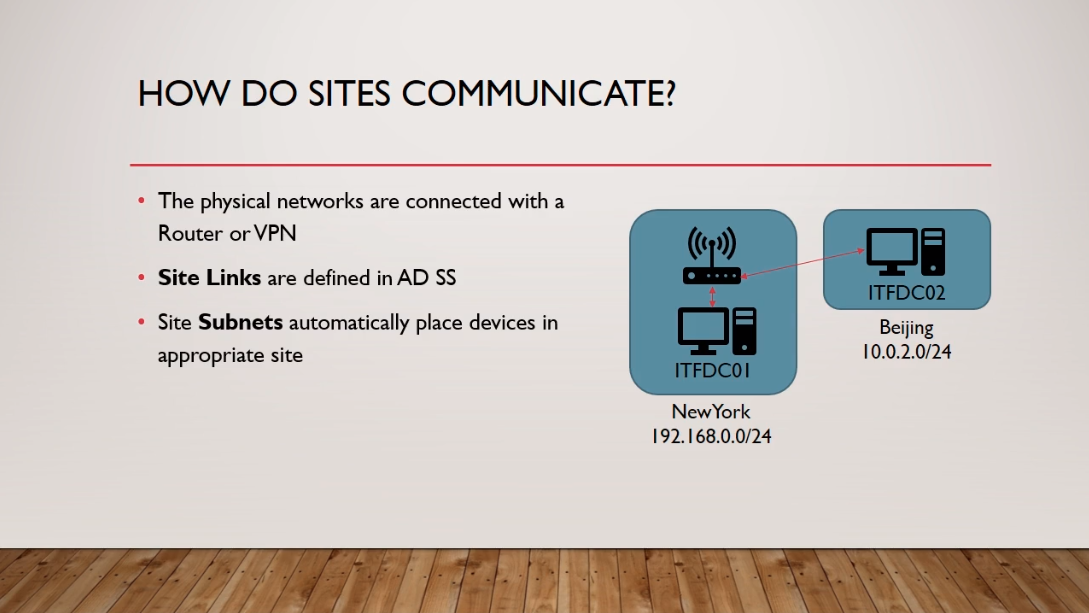
So, you might be wondering, how do these Sites communicate? Well, these are generally physical networks that are connected, with a physical line to a router, say a VPN.
Now, Site Links are defined in Active Directory Domain Services and these are one of the key ingredients in connecting these different sites together.Also, Site Subnets automatically place devices in the appropriate Sites. So for example, we have in the diagram ITFDC01 located in New York and is on the 192.168.0.0/24 subnet and we also have ITFDC02 located in Beijing and is on the 10.0.2.0/24 subnet. Now, both of these fall under the ITFlee.com domain but are located on different Sites.
Now, a computer that joins the ITFlee.com domain and has a 192.168.0.100 IP Address will automatically be placed in the New York Site because it is under the same subnet as our ITFDC01 Site. And the same goes for Beijing, if I join a workstation to the ITFlee.com domain, or a Server, or any other kind of device, and it falls under the 10.0.2.0/24 subnet then that device will be placed under the Beijing Site.The reason why that’s good is that we don’t want computers in Beijing trying to authenticate against Domain Controllers that are located in New York. It is because that’s long-distance, you just don’t want to deal with that, it will just slow down your connection speed and things like that.
So, we can tell all of our workstations in Beijing to authenticate against ITFDC02 because that Server is located on the same Site as our Workstation.
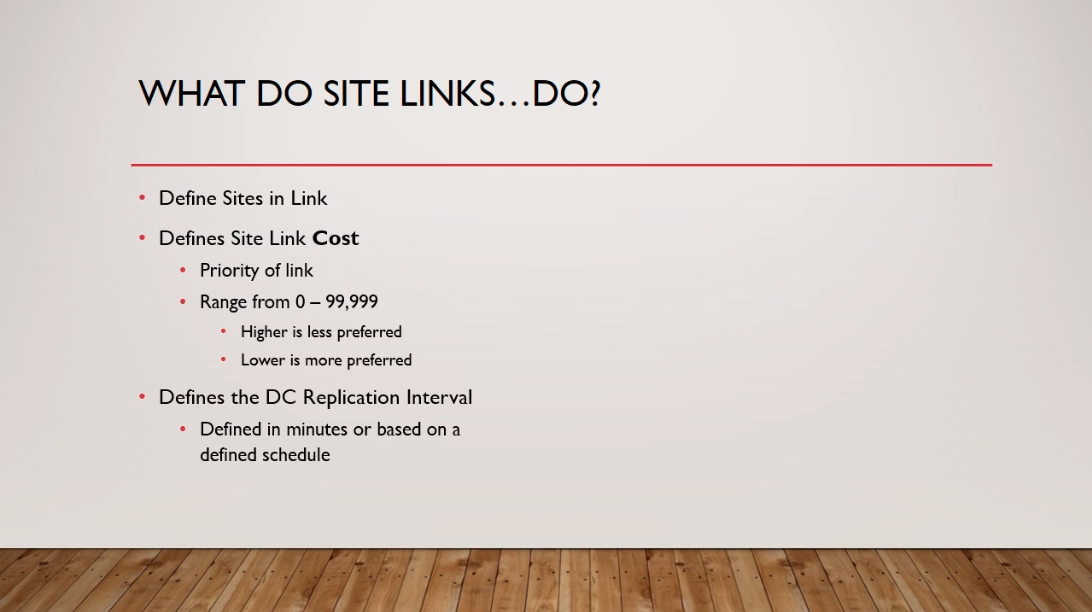
So let’s talk more about Site Links and what they do.Now, a Site Link defines the Sites that are in the Link. So you can create multiple Links and then you can say this Site Link connects to Site A and Site B.
Now, the Site Link also defines the Cost. You can think of the Cost as the priority of the link. Now, this Cost can range from 0 to 99,999. The higher the number the less preferred the link is. The lower the number the more preferred the Link is.Now, you can also define the DC replication interval which is by default defined in minutes or based on defined schedules. If you have a link between New York and Beijing, and it is a really slow connection, you might want to add more time in between the replication process, that way, you are able to fully replicate before you try to replicate again.
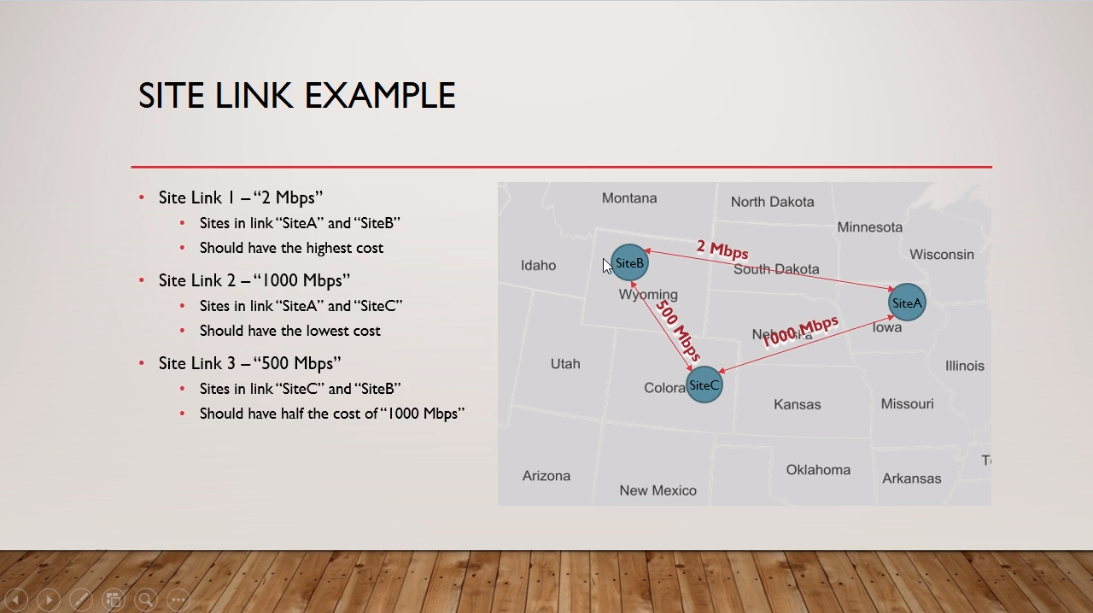
Here we have a map. We can see we have SiteB located in Wyoming, SiteC located in Colorado, and SiteA located in Iowa. Let’s take an example of how a Site Link would work.
We have Site Link 1. It’s going to connect SiteA to SiteB. It is a 2 Mbps connection. Let’s say we have a direct connection between these sites. Now, this should have a higher Cost. Remember a higher Cost means a higher priority because it is such a slow connection.Let’s say we have another connection between SiteA and SiteC. That’s going to be a 1000 Mbps connection. This would have a lower cost because it is much faster than the connection between SiteA and SiteB.
Now, let's say we have another line between SiteB and SiteC and it is a 500 Mbps connection.So, if we need to get information from SiteA to SiteB we can tell Active Directory Sites and Services what would be the fastest way to get the information there.
We can see that over SiteA to SiteB it is a 2 Mbps connection so it is going to be pretty slow. Active Directory will be able to figure out based on the Cost that we assign each of these Links the fastest way to get to SiteB which would be going to SiteC and then over to SiteB. That’s why you assign priorities and preferred connections between your Site Links.Site Costs are priorities that you make up. There’s no science behind them. Just saying that the higher the number, the higher the cost, the less preferred, the less likely we are going to use that connection.
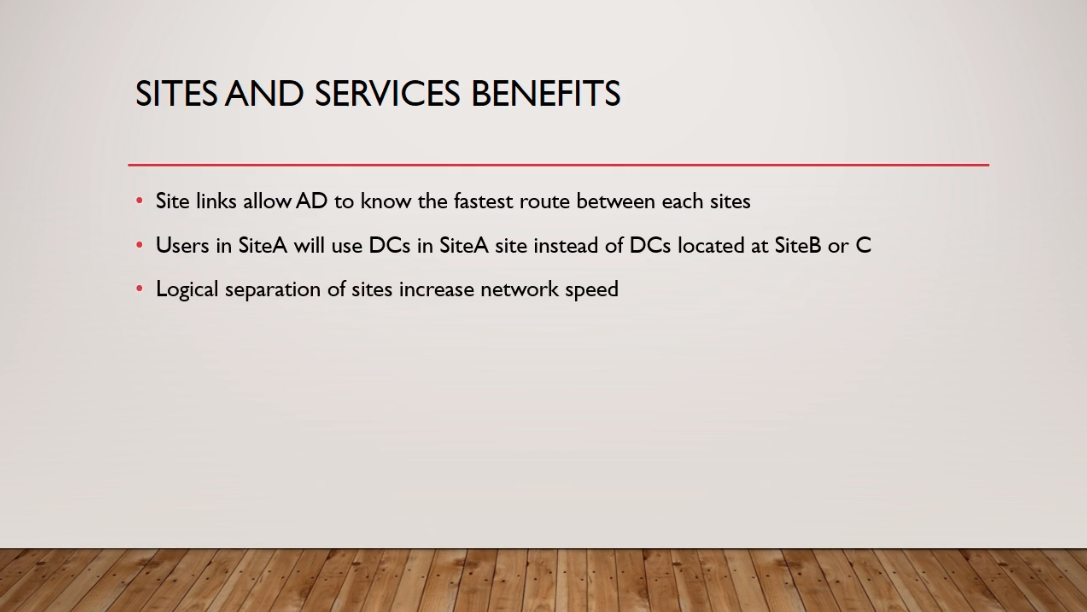
What are the benefits of Sites and Services?
Site Links allow Active Directory to know the fastest route between Sites.Users in SiteA will use the Domain Controllers in SiteA instead of using Domain Controllers that are located in SiteB or SiteC.
Logical separation of your Sites increases your network speeds.
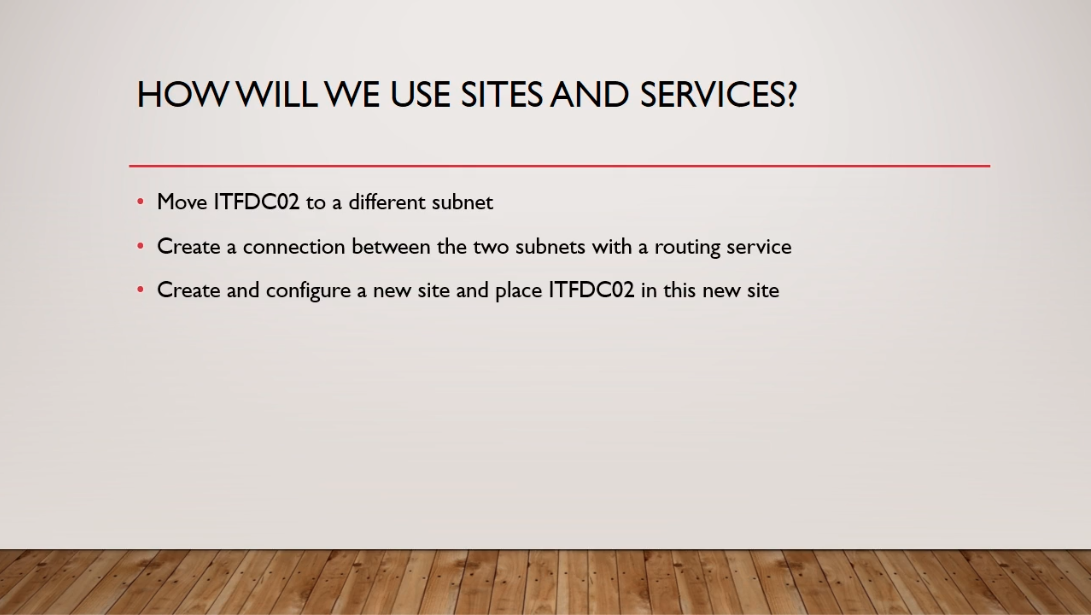
Now, How are we going to use Sites and Services? Let me explain the network setup that we are going to have.First, we are going to move ITFDC02 to a different subnet.
Next, we are going to create a connection between the two subnets. So, we are going to have a 192.168.2.0/24 subnet and a 192.168.0.0/24 subnet like we already have. Then we are going to create a connection between the two with a routing service.Next, we are going to create and configure a new Site and we are going to place ITFDC02 on this new site. So you are going to learn how to create and configure Sites with Active Directory Sites and Services.
Now, there are a few things that I need you guys to do before continuing on to the next lecture. Now, these are all tasks we have done before so this is going to be an exercise and a way for you to remember what I’ve taught you so far in the course.
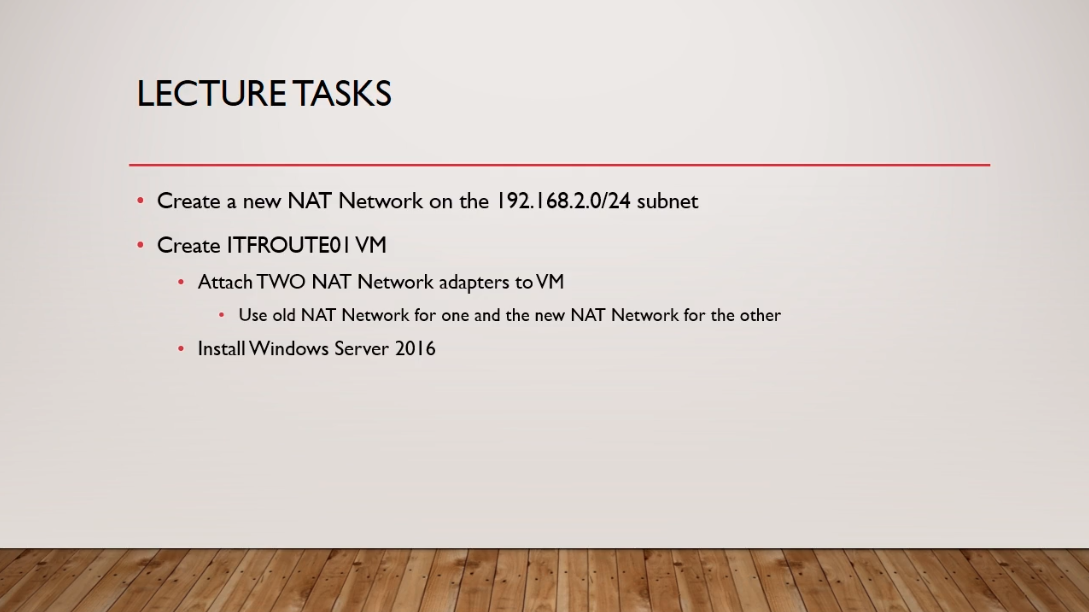
First, I need you to create a new NAT Network on the 192.168.2.0/24 subnet. It is going to be identical to the Nat Network we have created. Instead of using 192.168.0.0/24, we are going to change it to 192.168.2.0/24.Next, we are going to create a new Virtual Machine and we are going to call this ITFROUTE01. We are going to attach two networking adapters to this VM. The first is going to be the NAT Network that we created at the beginning of this course and is the one that is connected to the 192.168.0.0/24 subnet. Then on the second network adapter, we are going to attach the new Nat Network that we just created, the one that is 192.168.2.0/24.
Next, I need you to install Windows server 2016 on that VM.
And then we are going to be ready to pick up in the next lecture.


I passed the Lab with 100%, but it did not check that as done. What is the problem?
Hi Zein Saker
I see the Lab: Active Directory Backups completed on your student progress. If there’s anything missing from your end do let us know to update if needed.
In regards to the other post if you need to contact billing email support@serveracademy.com
Thank you,
Ricardo
I must be confused on the course progression. It sounds as though there was a lecture where we created home labs and configured some networking. Where did I miss that?
Hi M F
M F
There is a course named Building your IT Lab that teaches you how to build your IT lab.
Ricardo
Okay so I went through the video series again and I still feel like I’m missing something.
First we created a NAT network, gave it a name but left the default CIDR untouched at 10.0.2.0/24 just like in the video. ***NOTE*** Haven’t messed around with VirtualBox enough to know if in the NAT settings I was supposed to literally make it for 192.168.1.0/24, or leave the default CIDR like in the video
Along the line we created two DC’s
SADC01
IP Address: 192.168.1.10
SADC02
IP Address: 192.168.1.11
Now we are instructed to create a new NAT network for subnet 192.168.2.0/24. I’m guessing in this case we change the CIDR in the NAT setting for Virtual box to match said subnet? And create a new server called ITFROUTE01.
So then I have 3 servers. My two DC’s, SADC01 and SADC02. Followed by the third ITFROUTE01
SADC01, and 02 are on the first NAT network (CIDR 10.0.2.0 unchanged according to the video series) with IP addresses 192.168.1.10 and .11 respectively.
The new NAT (192.168.2.0/24) is mentioned to be closely related to NAT 192.168.0.0/24. However. . . We never created that network, or at least we were never instructed to create that network. So, I don’t know if that was just supposed to be purely and example ONLY in the video, or if it was something we were supposed to make?
192.168.0.0/24 = Unknown when mentioned
192.168.1.0/24 = First instructed subnet
192.168.2.0/24 = Second instructed subnet.
The very next video ANOTHER subnet is mentioned (10.0.0.0/24) Again, no idea if that’s just a video example or one I was supposed to make, and another Server (SAROUTE01) . . .
To many networks and servers mentioned, my brain is scrambled.
I just need to know how many servers I should have in my home lab, which is which, and what IP’s they should have. Also, as a side note just because I’m a newb with Virtual box, whether or not in the NAT settings I’m supposed to configure them as the Net ID (192.168.0.0/24) or leave it default, which in my case is 10.0.2.0/24.
Sorry! I know this is long and probably a pain in the ass. But I really want to do good at this and follow along how I should. So any help and patience is greatly appreciated!
Right, it is an example video and might need to adjust the ip configuration to make it work. You might need to reconfigure the IP since we reuse the same server SADC2, but can be another windows server, in this case 2 more, to test routing through SAROUTE01.
Try with the following:
192.168.1.0/24 = First instructed subnet
SADC01
IP Address: 192.168.1.10
use SAROUTE01 adapter 1 IP as its default gateway
SADC02
IP Address: 192.168.1.11
use SAROUTE01 adapter 1 IP as its default gateway
SAROUTE01
adapter 1 IP Address: 192.168.1.12
adapter 2 IP Address: 192.168.2.12
192.168.2.0/24 = Second instructed subnet.
SAMEM01
IP Address: 192.168.2.10
use SAROUTE01 adapter 2 IP as its default gateway
A simplified topology would look like the following which we have on the lab for this section.
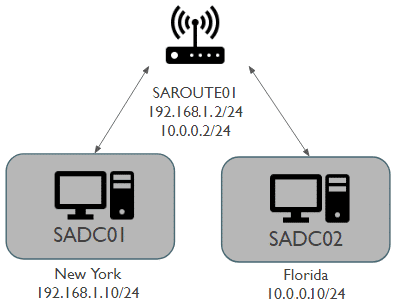
Let us know if you have any issues trying to reproduce it.
Thank you so much that’s way more clear to me, I appreciate it!