Creating and Managing Active Directory User Accounts with PowerShell

Full-Access Members Only
Sorry, this lesson is only available to Server Academy Full-Access members. Become a Full-Access member now and get instant access to this and many more premium courses. Click the button below and get instant access now.
Instructions
Q&A (0)
Notes (0)
Resources (0)

Saving Progress...
Resources
There are no resources for this lesson.
Notes can be saved and accessed anywhere in the course. They also double as bookmarks so you can quickly review important lesson material.
In this lecture, we are going to learn how to create new Active Directory user accounts with Windows PowerShell.
We also are going to learn how to reset passwords, manage the group of the user, and general Active Directory user management with Windows PowerShell.
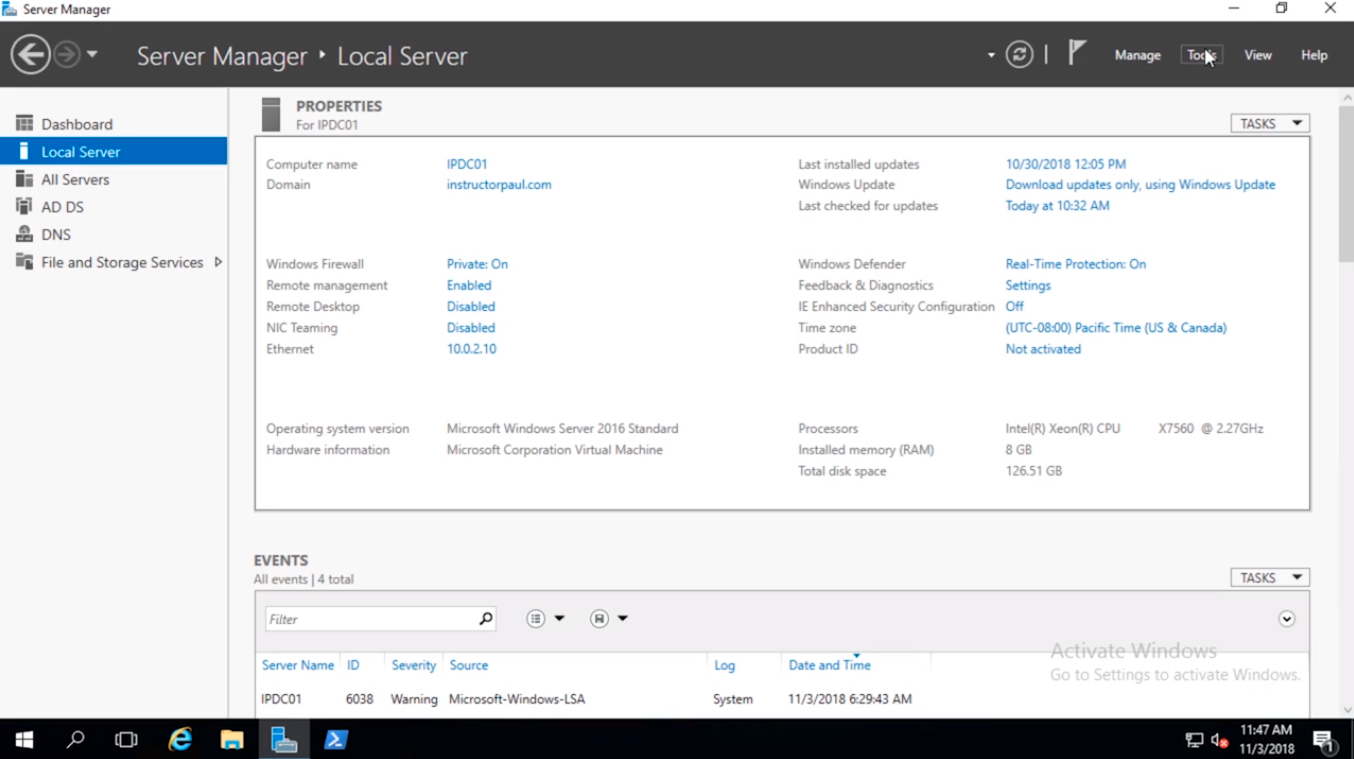
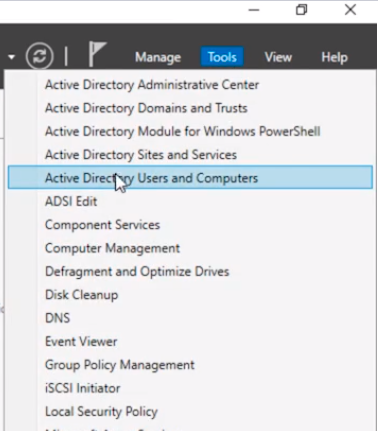
So, the first thing that I am going to do is on IPDC01 which is my Domain Controller in instructorpaul.com Domain we are going to open Active Directory Users and Computers by clicking on Server Manager > Tools > Active Directory Users and Computers.
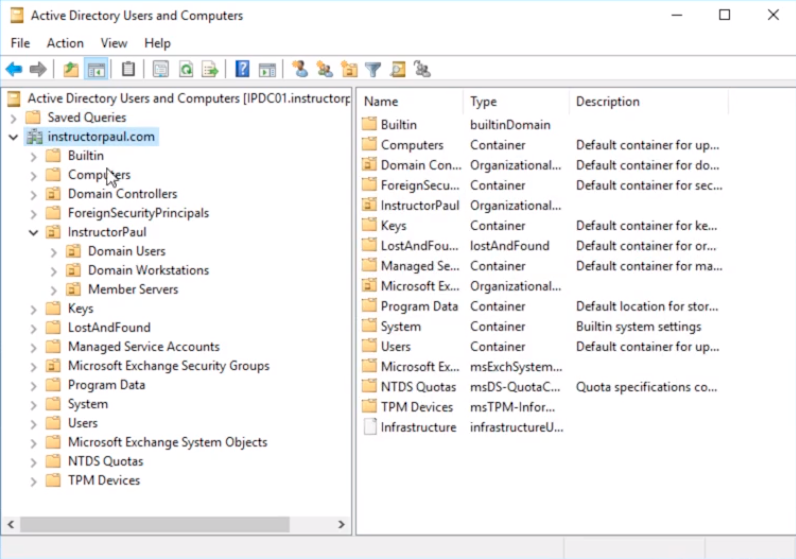
One that launches, what I am going to do is click on the domain instructorpaul.com.
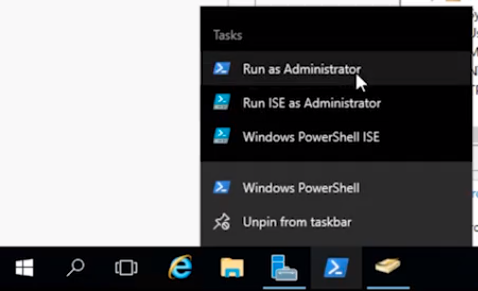
I am going to right-click on the PowerShell icon in the taskbar and make sure to select Run as Administrator.
Click Yes on the User Account Control window.

So, let’s go ahead and just run Get-Help for the command that we are going to be using which is going to be New-ADUser, and press Enter.
It will automatically import the Active Directory module for us and then we will get the information about this command.
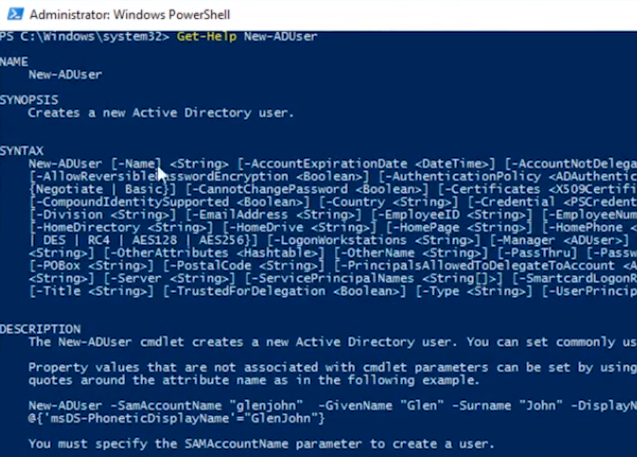
Here we can see there’s a ton of properties that we can specify, however, only one of them is actually required and that is -Name.
So, if we were to type in just the command New-ADUser it’s going to prompt us to specify the name which I can use Test Account and press Enter.

And, that user account was created.
If we go back to Active Directory Users and Computers, and I click on the Users container we can see we have a new account named Test Account.
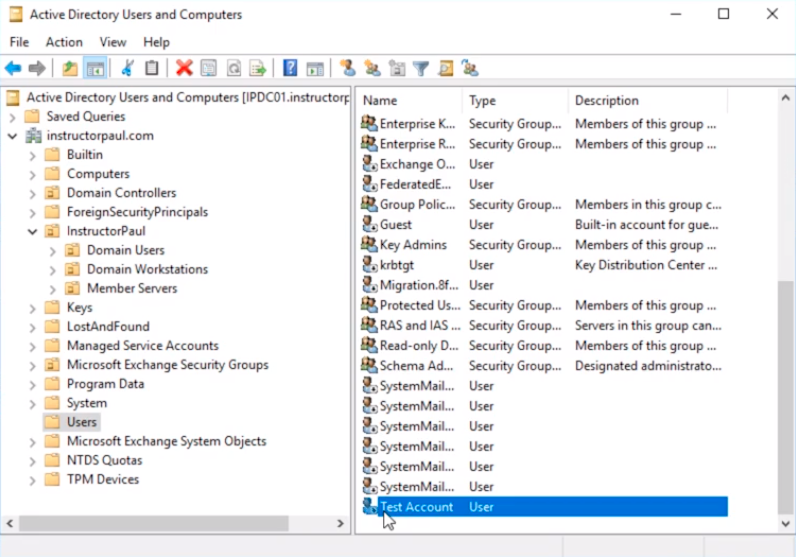
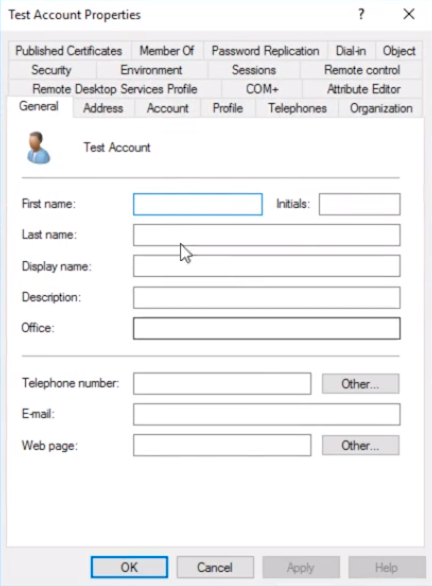
Now, we can see that this account is disabled and if we double click on it we see there’s no information populated in it.
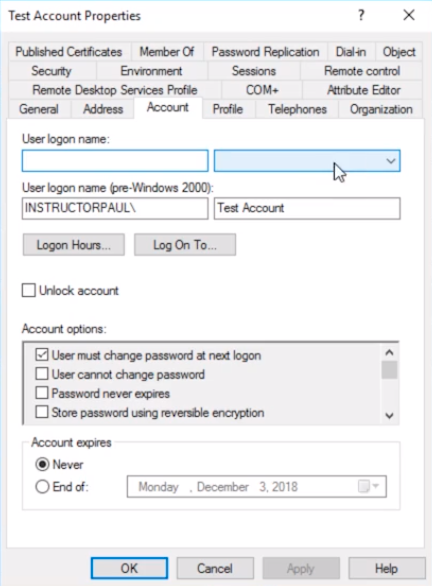
And, if we go to the User Account tab there’s no user logon information either.
So, what I am going to do is Delete this user account so we can keep creating it by right-clicking it and choosing Delete.
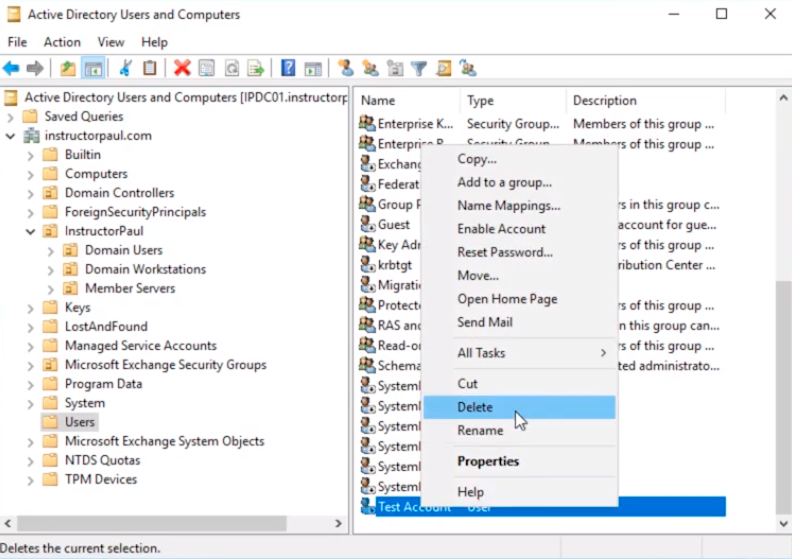
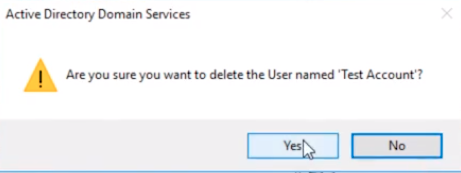
Click Yes on the confirmation popup.
We are going to learn about some of these properties.
If I type the command with -Name so that way I am not prompted for the Test Account.
New-ADUser -Name “Test Account”
So if I run this command I will not have any problems.
Now, another thing that we might wanna do is specify the -SamAccountName “Test.Account”. So the SamAccountName is the Pre-Windows 2000 logon name.
New-ADUser -Name “Test Account” -SamAccountName “Test.Account”
And if I run this command and go back to Active Directory Users and Computers and refresh the list I can see the user account and if I double click on it and go to the Account tab we see the value as we specified in the command.
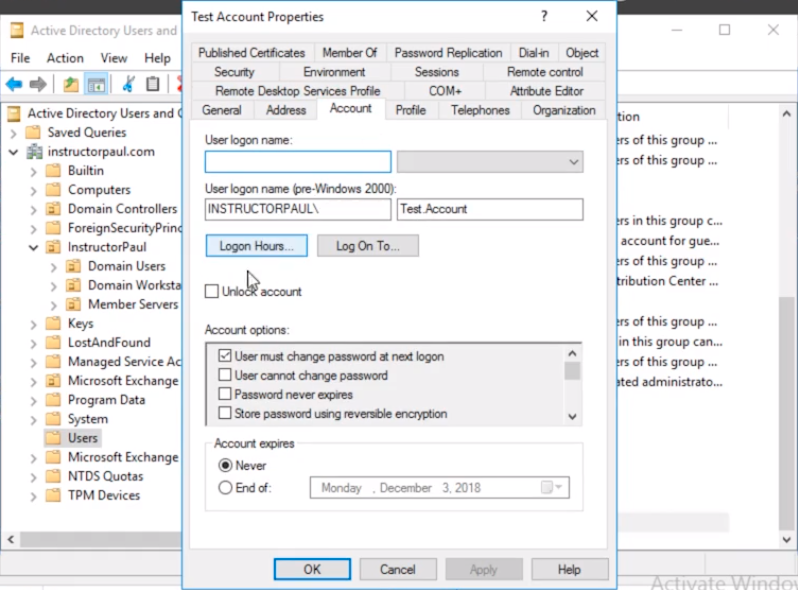
So, if we don’t specify the SamAccountName it will just use the -Name value as the Pre-Windows 2000. If we specify the SamAccountName, the Pre-Windows 2000 login will be the Test.Account.
One thing that you will notice is that we still don’t have a user logon name, and we still haven’t specified the Domain.
So, let’s go ahead and fix that. Let’s delete the user account again following the same steps previously to delete the account.
Type in the same command -UserPrincipalName “Test.Account@instructorpaul.com”.
New-ADUser -Name “Test Account” -SamAccountName “Test.Account” -UserPrincipalName “Test.Account@instructorpaul.com”
And what I am doing here is the UserPrincipalName is going to split into two fields.
First, is the User logon name, and that’s everything before the @ sign. After the @ sign we have what domain the user account is going to log into.

Server Academy Members Only
Sorry, this lesson is only available to Server Academy Full Access members. Become a Full-Access Member now and you’ll get instant access to all of our courses.


