Installing Windows 10

Full-Access Members Only
Sorry, this lesson is only available to Server Academy Full-Access members. Become a Full-Access member now and get instant access to this and many more premium courses. Click the button below and get instant access now.
Instructions
Q&A (0)
Notes (0)
Resources (0)

Saving Progress...
Resources
There are no resources for this lesson.
Notes can be saved and accessed anywhere in the course. They also double as bookmarks so you can quickly review important lesson material.
In this lecture, we will be installing Windows 10 on our SAWS01 workstation.
What I am going to do is right-click on the VM and I am going to choose Start and choose Normal Start.
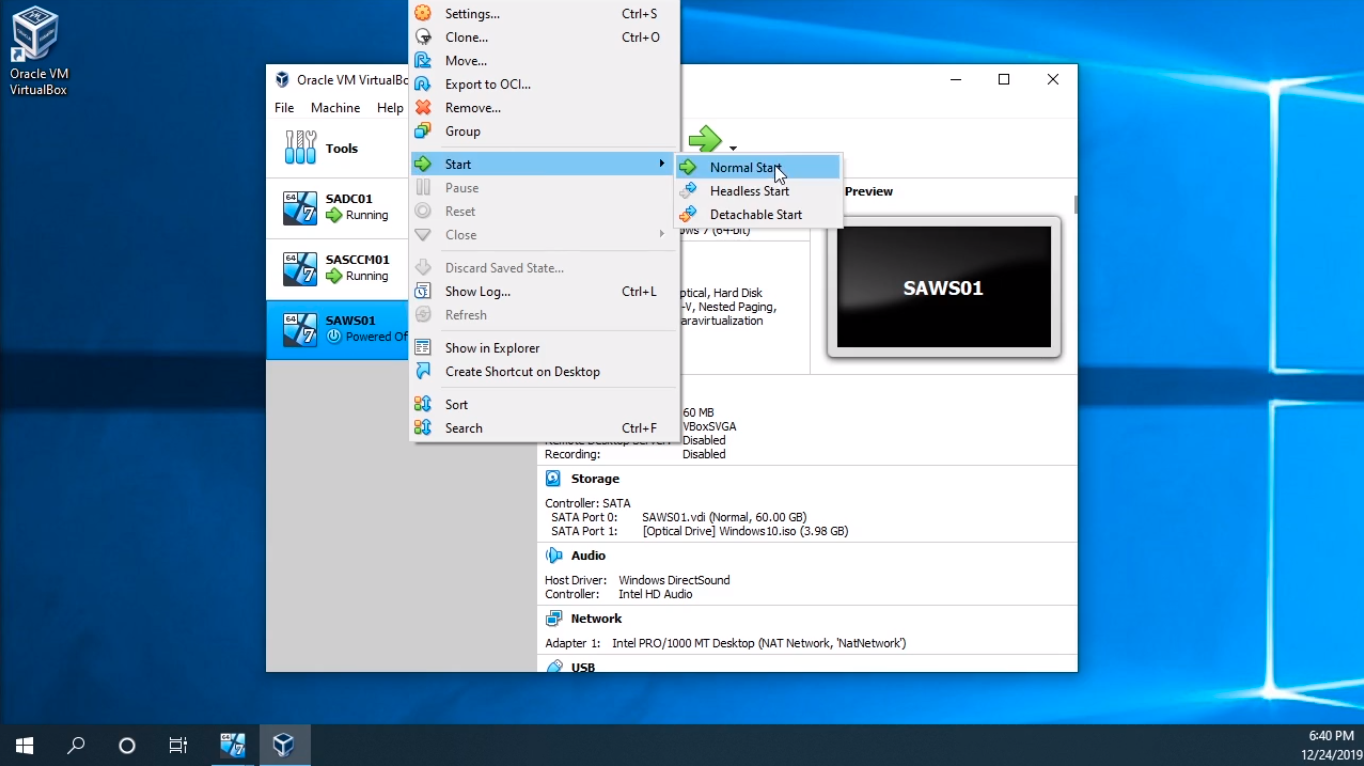
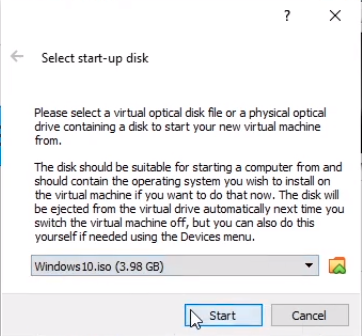
Now, you may see a Select start-up disk window when you first launch this so make sure you select Windows10.iso and click Start.
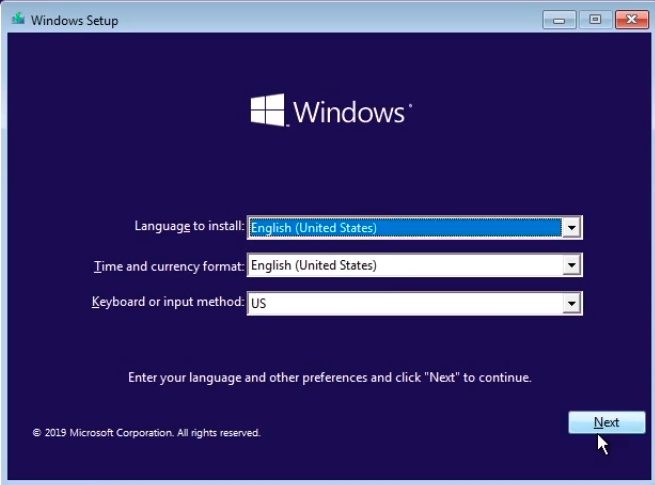
Now, this process is very similar to Windows Server 2019, but we still are walking you through the steps. Click Next.
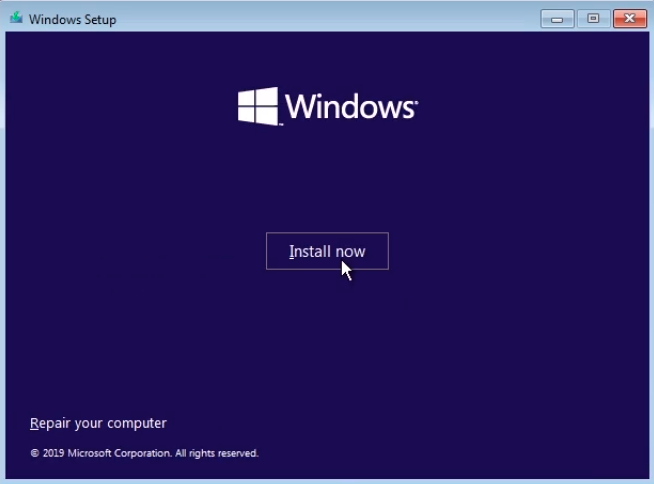
And click Install now.
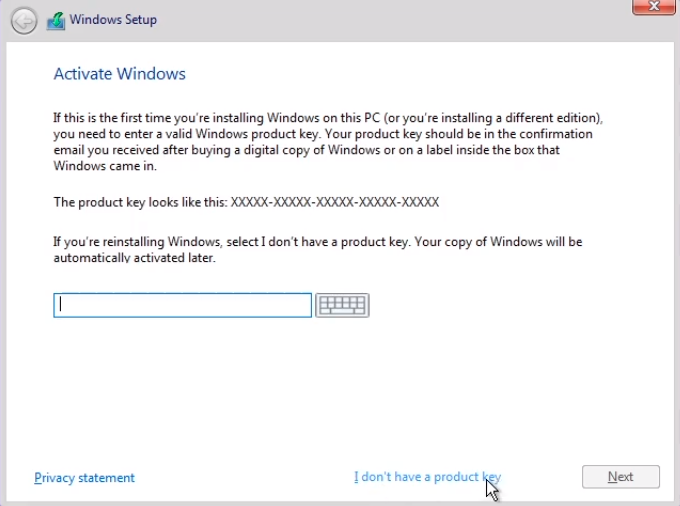
I am going to choose I don’t have a product key.
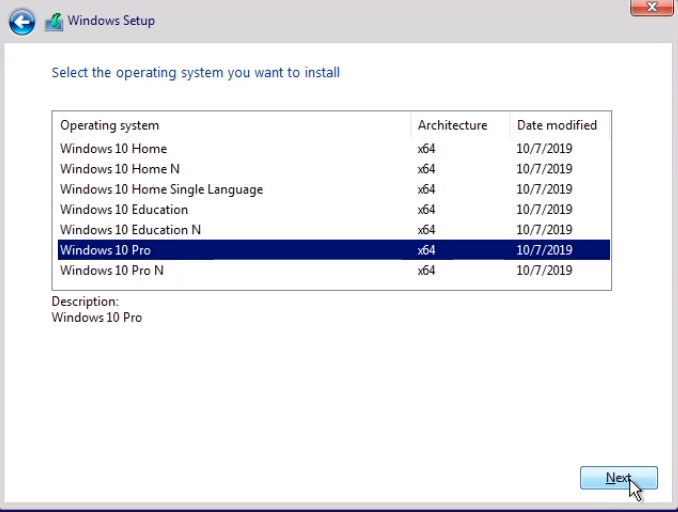
And I am going to choose Windows 10 Pro.
It is very important that we choose the Pro edition and not the Home as Home cannot be joined to a Windows Domain.
So, I am going to click Next.
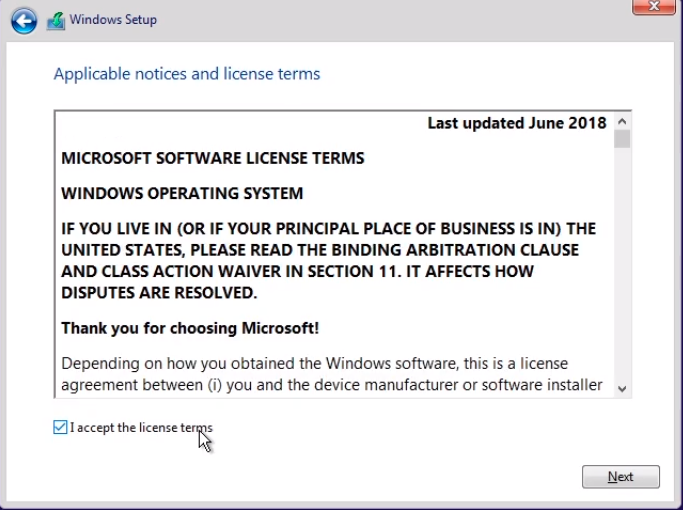
I am going to accept the license terms and again click Next.
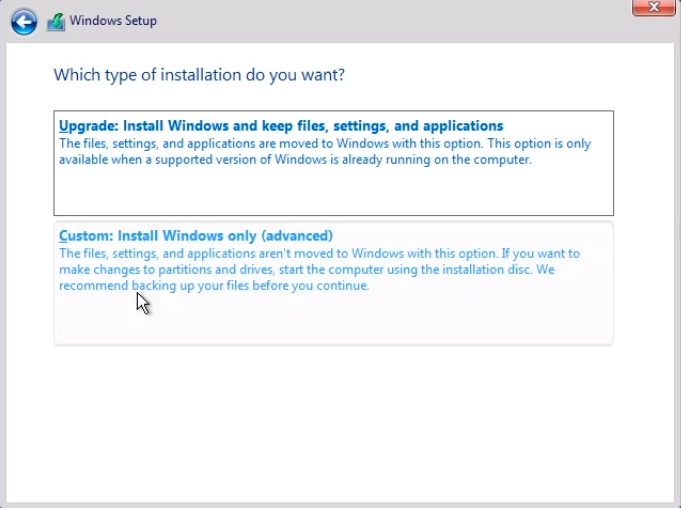
I am going to choose Custom because this is the first installation of Windows on this Hard Drive.
Here I am going to select Drive 0 Unallocated Space and click Next.
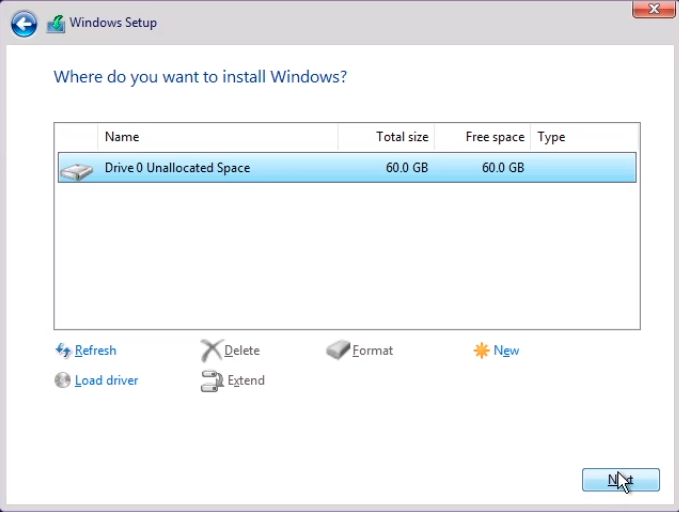
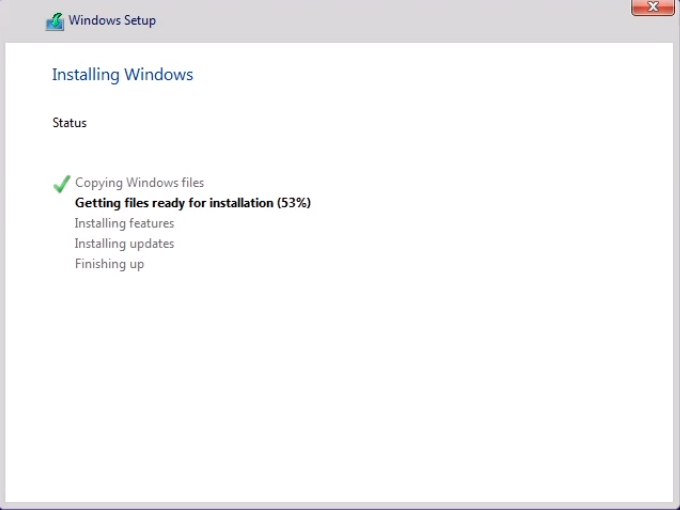
Now the installation is going to begin. From here we just need to wait.
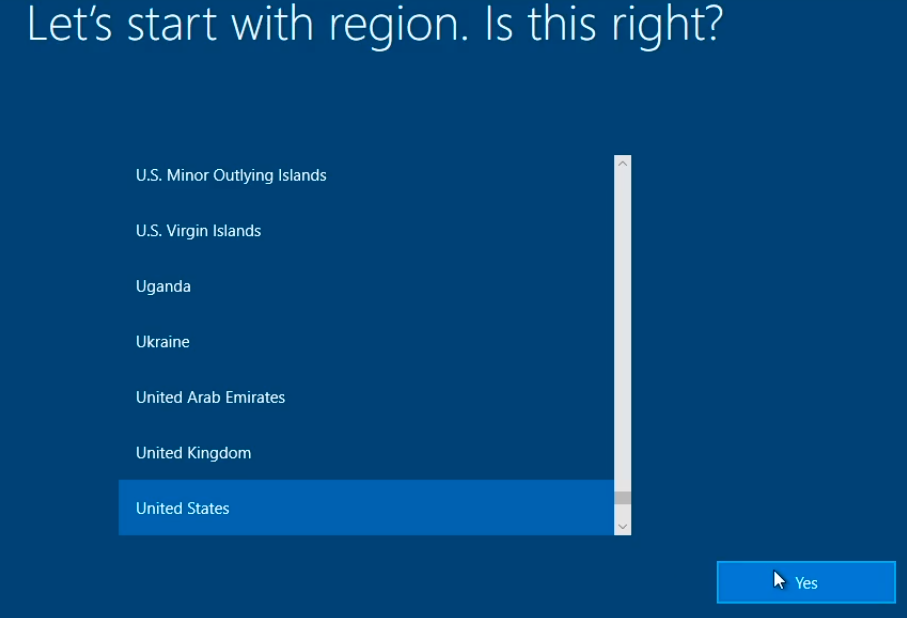
At this point of the installation, we need to select our Region and click Yes.
I am going to click Yes on the Keyboard layout screen.
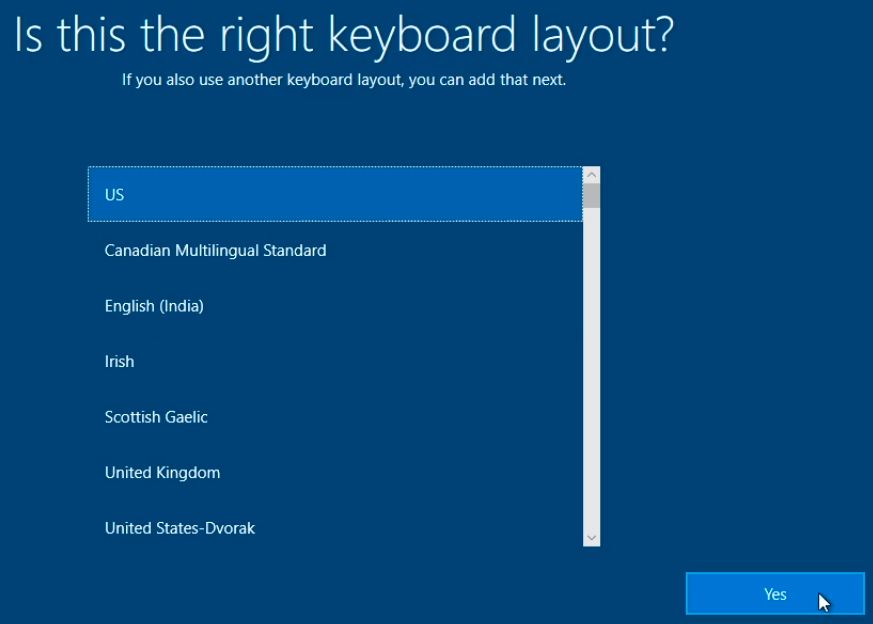
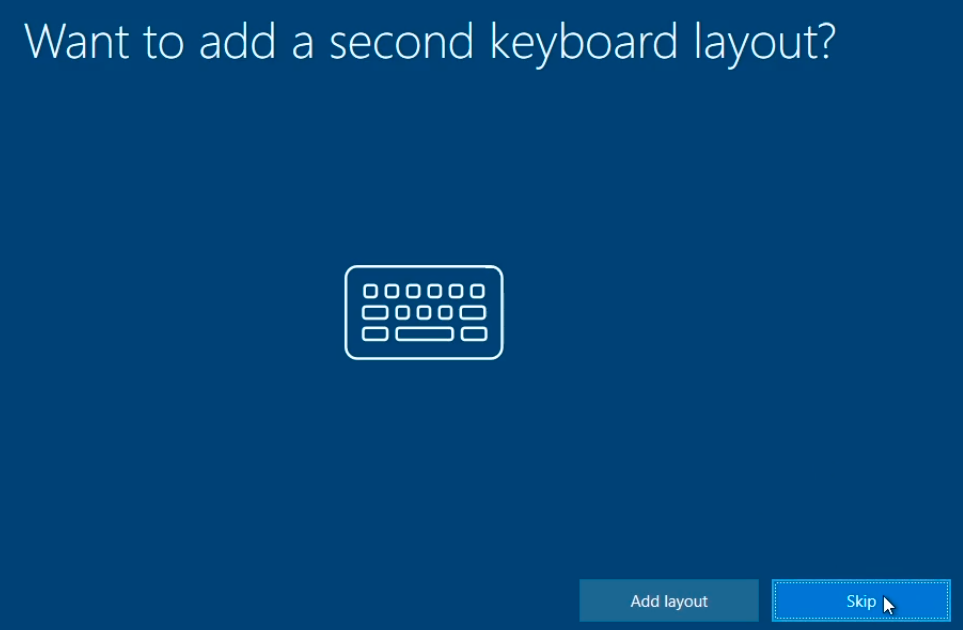
I am going to skip adding a Secondary Keyboard layout.
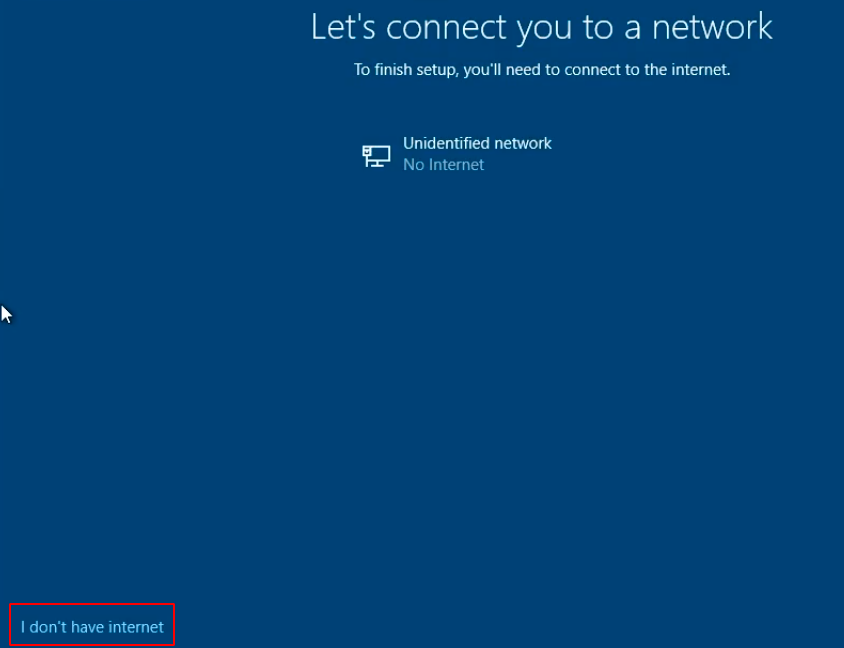
On this next screen, we are just going to select I don’t have internet at the bottom left. We are configuring the internet later.
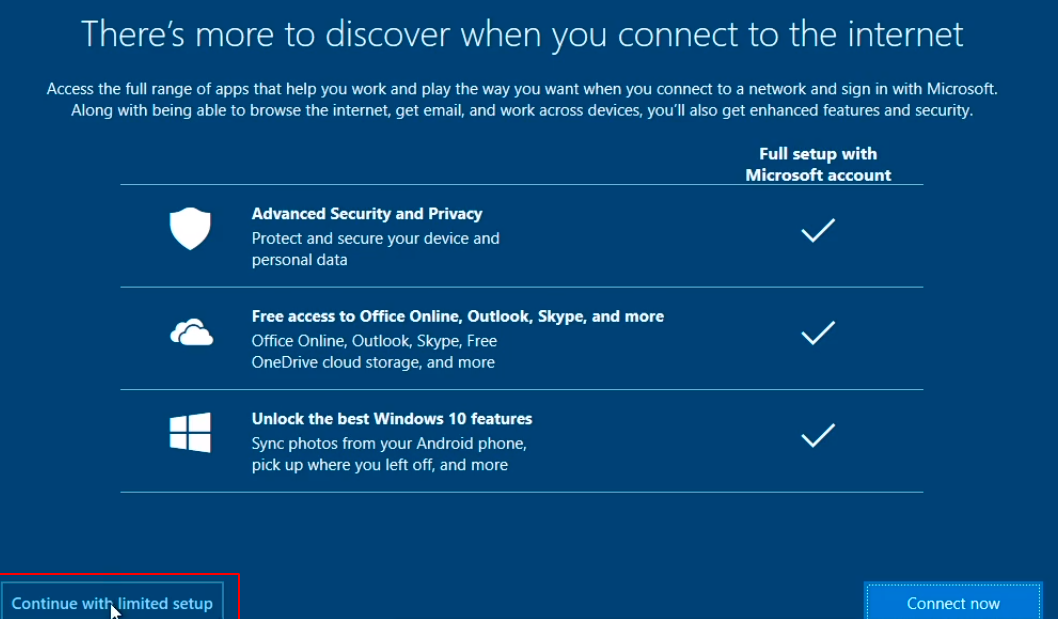
On this screen, I click on the Continue with limited setup.
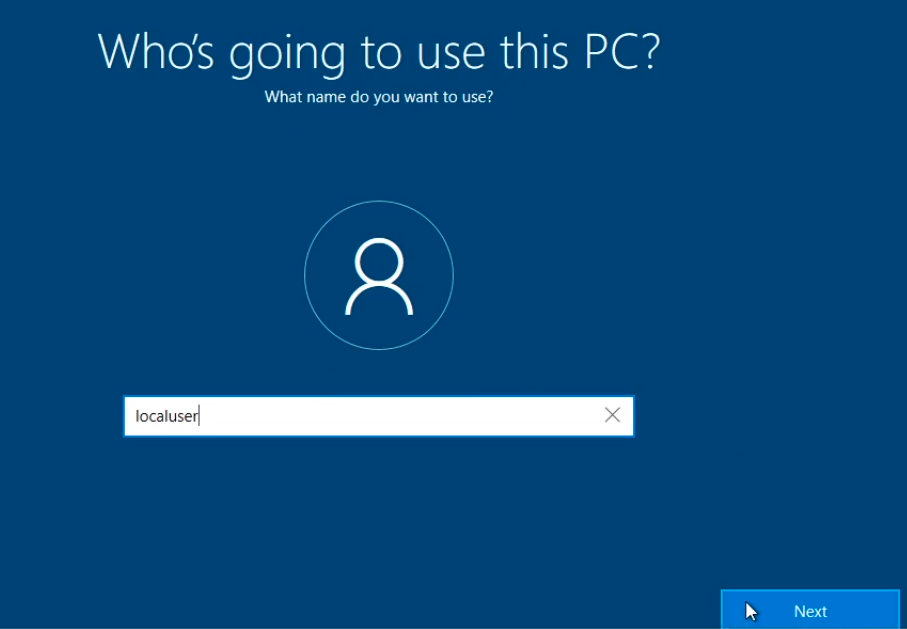
I am going to type now localuser for Who’s going to use this PC? and click Next.
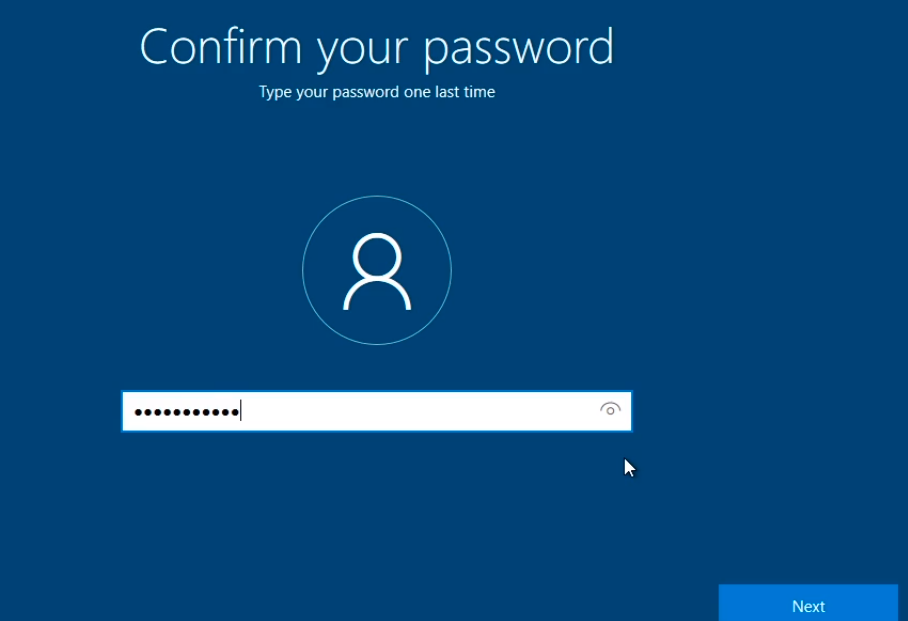
And I am going to type the same password that I use for the other servers and this is just to make sure I don’t forget what the password is for any of my labs. Click Next.
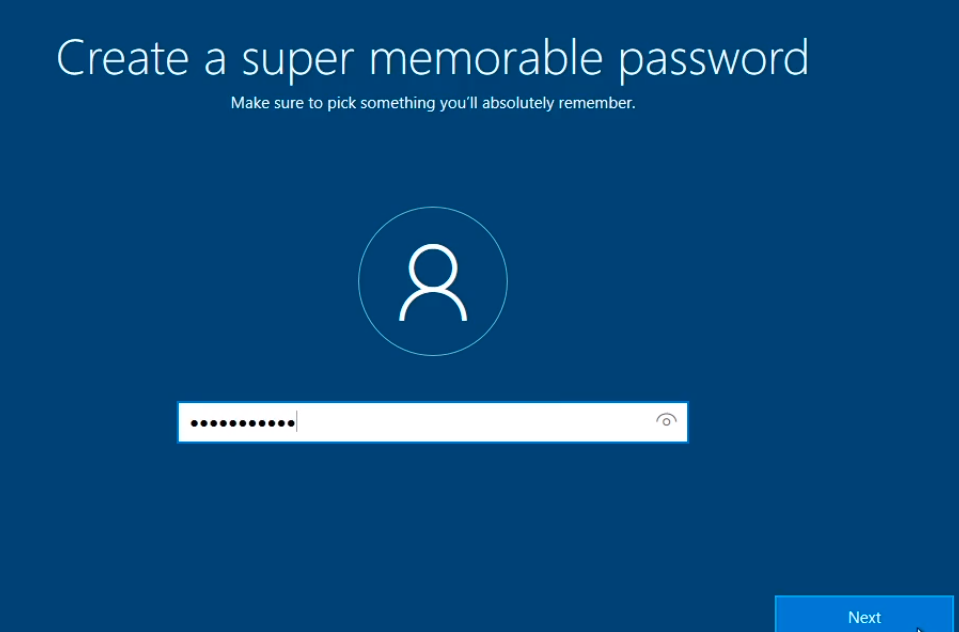
Confirm your password and click Next.
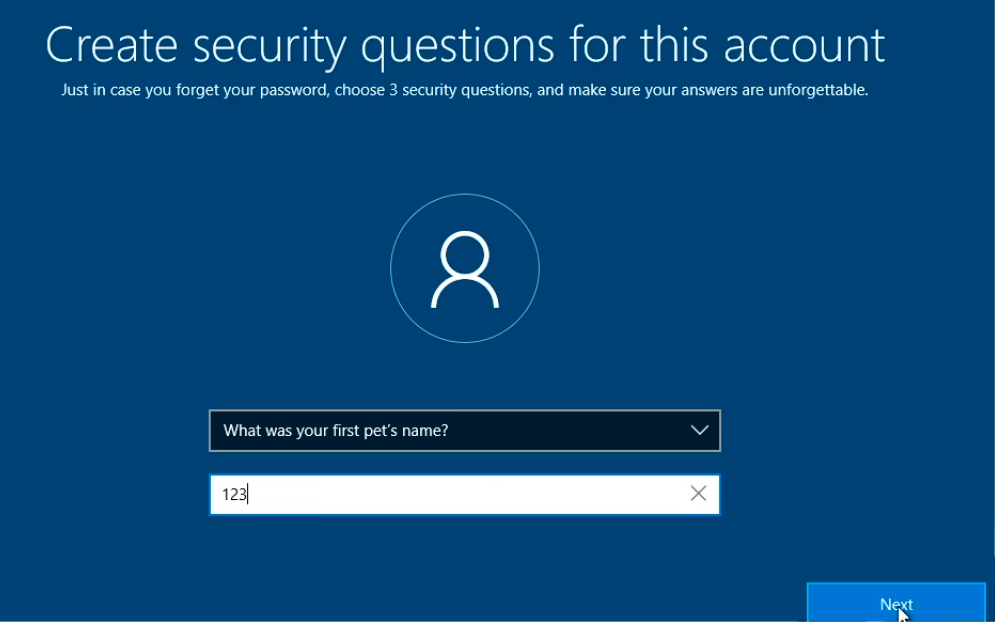
Now I need to select the 3 Security Questions. I am going to type some random information and click Next.
Repeat the same answer for the next two questions.
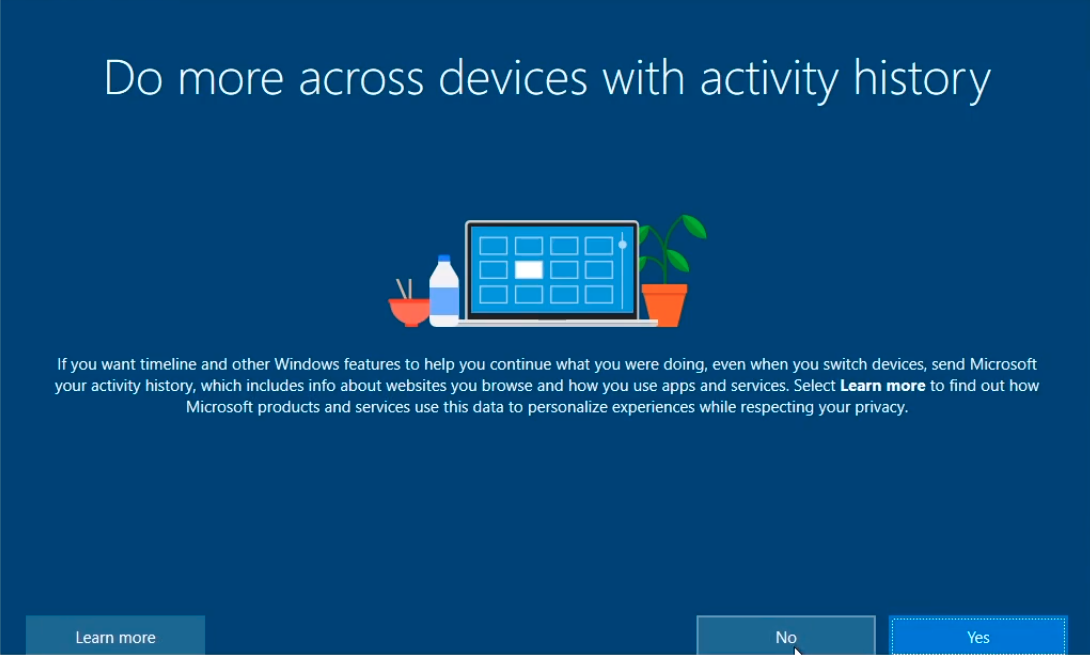
I am going to click NO to device history.
I am going to Decline help from the digital assistant. All things that will slow down your lab environment are unnecessary.
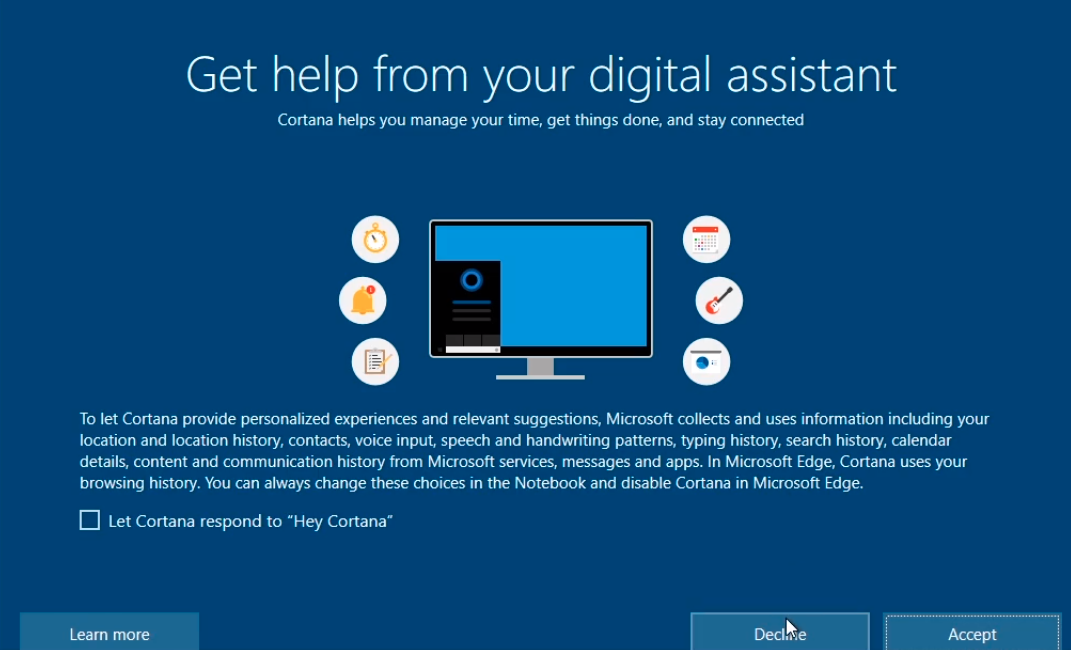
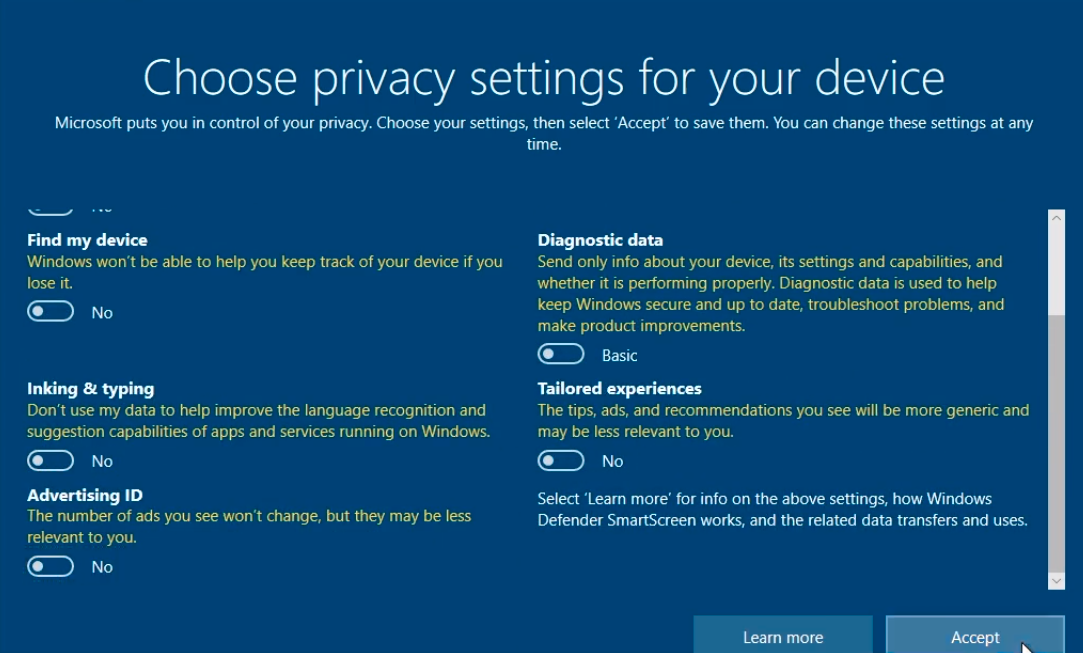
I am going to opt-out of all these options as well and click Accept.
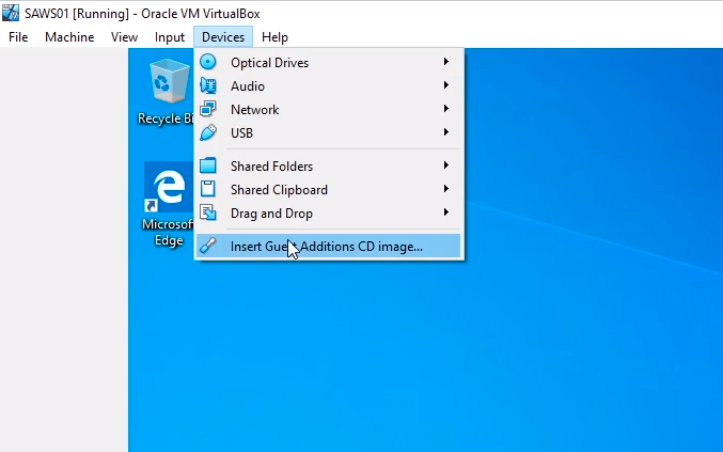
At this point the installation is complete so what we are going to do is install the VirtualBox Guest Additions clicking Devices and selecting Insert Guest Additions CD Image…
What this is going to do is mount the VirtualBox Guest Additions ISO.
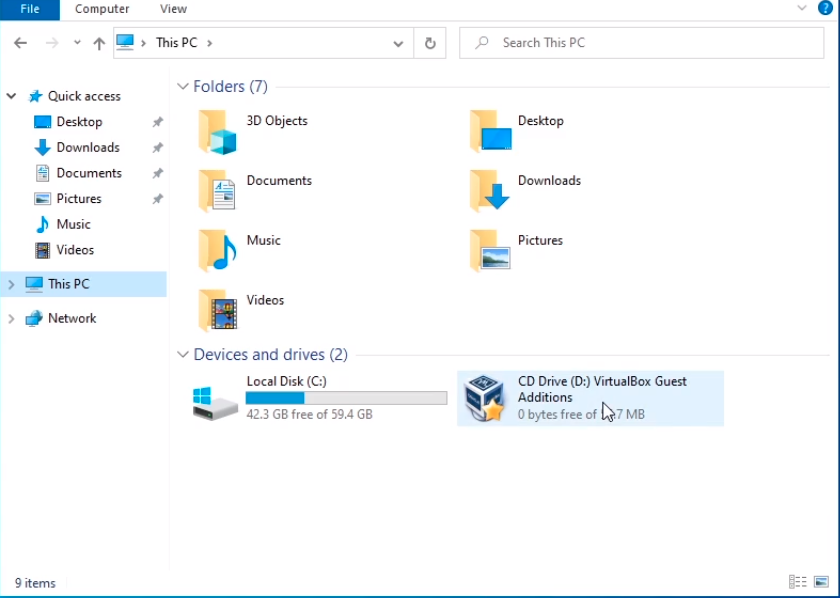
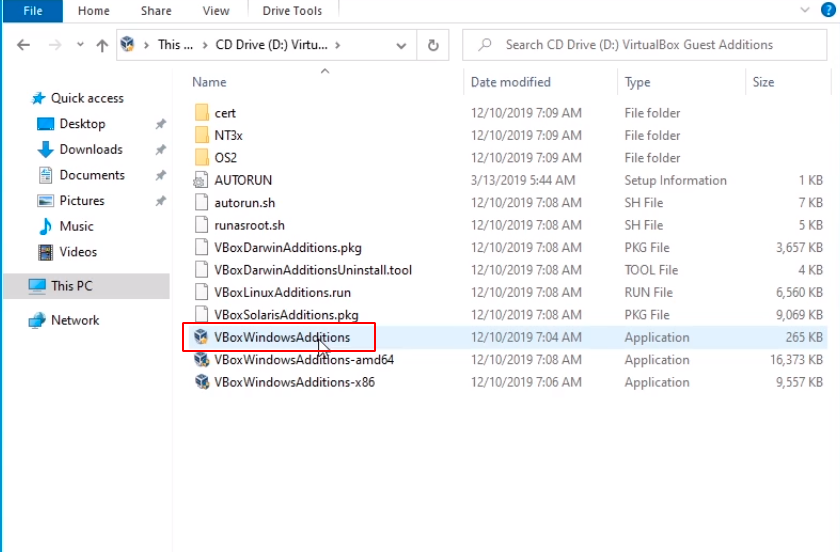
Next, we open File Explorer > This PC > VirtualBox Guest Additions CD image is listed here.
Double click on the icon to open it.
And we are going to launch the VBoxWindowsAdditions.
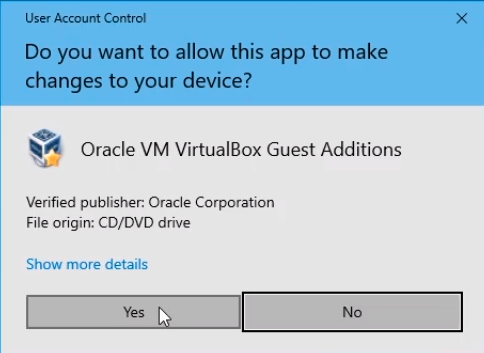
Select Yes at the Access Control Prompt.
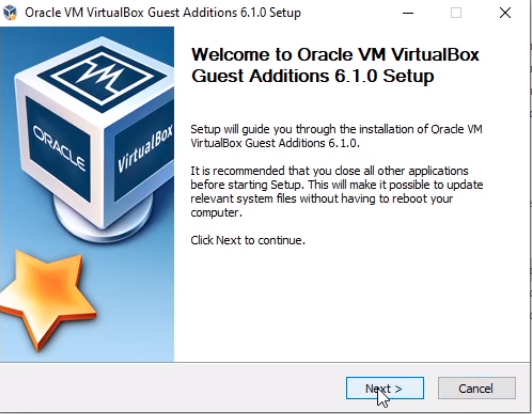
Click Next.
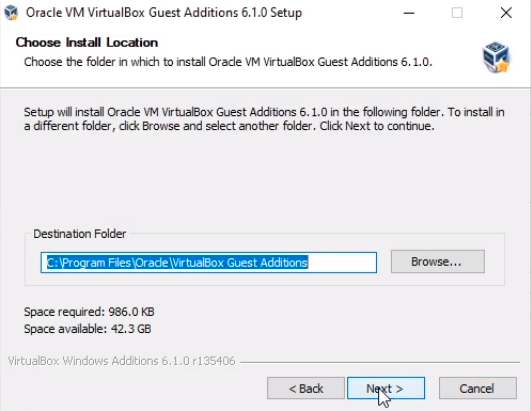
Click Next again to proceed with the default options.
Click Install.
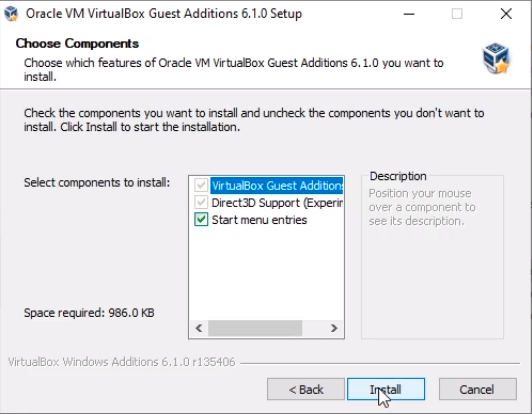
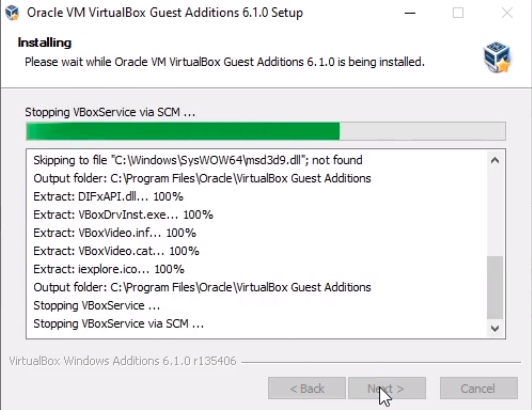
The installation begins.
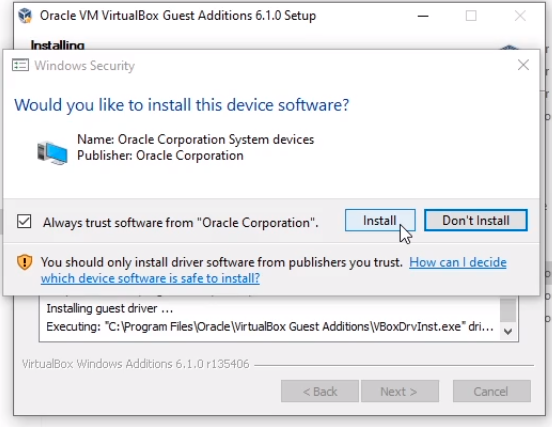
We are going to select Install at the prompt.
And we are going to Reboot now clicking on Finish.
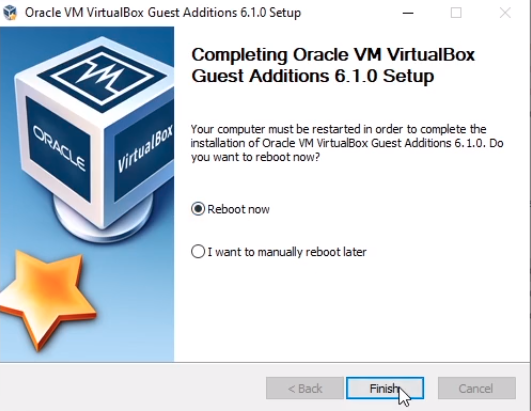
Once the reboot is completed we will be done installing Windows 10.

Server Academy Members Only
Sorry, this lesson is only available to Server Academy Full Access members. Become a Full-Access Member now and you’ll get instant access to all of our courses.


