Terminating your EC2 instance
By now, you should have a good understanding of what Amazon Elastic Compute Cloud (EC2) is and how to use it to launch virtual servers in the AWS cloud. But what happens when you no longer need an EC2 instance?
We terminate it! Terminating an EC2 instance simply means "deleting" the EC2 instance and releasing all of its resources. This can be useful if you want to stop paying for an instance that you're no longer using or if you want to replace an instance with a newer one.
So, let's go over the steps for terminating an EC2 instance:
1\. First, log in to the AWS Management Console and navigate to the EC2 dashboard.
2\. On the left-hand side, click on "Instances" to view a list of your EC2 instances.
3\. Select the checkbox next to the instance that you want to terminate. You can select multiple instances if you want to terminate them all at the same time.
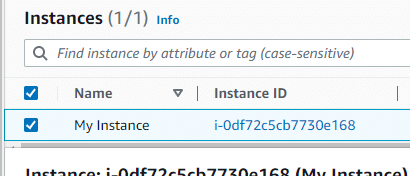 Select EC2 Instance Checkbox
4\. Click on the "Actions" button, then select Instance State, and then Terminate from the drop-down menu:
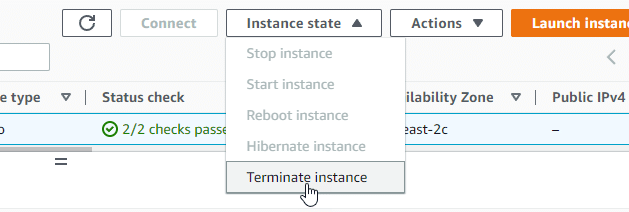 AWS EC2 Instance State > Terminate Instance
5\. A pop-up window will appear, asking you to confirm that you want to terminate the instance. Click Terminate to confirm.
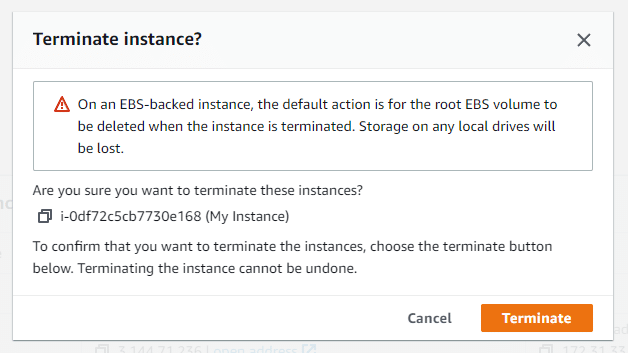 Terminate EC2 Instance
6\. The EC2 instance(s) will then be shut down and terminated. It will continue to show in your EC2 instance list for a short period of time with the Instance state of Terminated.
It's important to note that when you terminate an EC2 instance, any data stored on its local storage (such as the root device volume) will be lost. If you want to preserve this data, you should create a snapshot of the root de…
No comments yet. Add the first comment to start the discussion.