Connecting to our EC2 instance
In this lesson, we will SSH into our newly created EC2 Instance. I will explain how you can connect from both Windows and Linux by either using the SSH command-line tool (included with Linux and also newer versions of Windows) or using PuTTY if your Windows computer does not have SSH installed by default.
Do I have SSH?
If you will be connecting from a Linux based operating system, it's very likely that you already have SSH installed. If you're on an old outdated version of Windows, however, you might now have SSH enabled. To double check, launch Command Prompt and type the command SSH. If you see output like that below, you have SSH and connecting will be very easy!
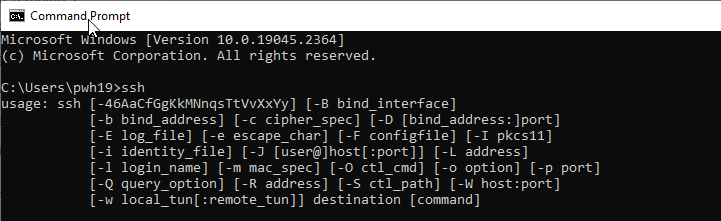 Windows SSH Client
If you're on Windows and this command returns an error, see this article for enabling SSH on your Windows computer before continuing.
Grab the EC2 instance connection Details
In the AWS Console, right-click your instance's Public IPv4 Address and select Copy :
 AWS EC2 Public IPv4 Address
Connect with SSH
Now go to your terminal or Command Prompt and enter the following command to connect with the ec2-user account which is the default account for the Amazon Linux OS:
ssh -i /path/to/firstkeypair.pem ec2-user@1.2.3.4
Be sure to update the IP address to your servers IP address so it's your EC2 instances IPv4 address and not "1.2.3.4" which we used in the example above
NOTE
You will be prompted to verify the ECDSA key fingerprint, type yes and press enter:
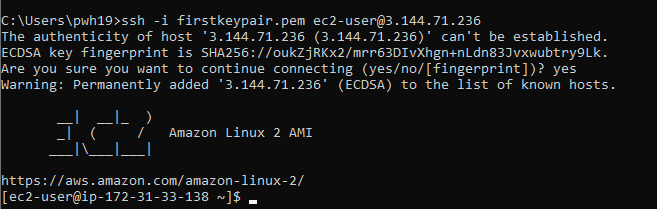 Logging in to AWS EC2 Instances
Here is a little…
No comments yet. Add the first comment to start the discussion.