Upgrading Windows Server Desktop Experience from 2016 to 2019
In this lesson, you are going to learn how to upgrade Windows Server 2016 Datacenter. We are going to upgrade to the 2019 Datacenter Evaluation.
Keep in mind the basic principles are the same no matter what version you are going to be upgrading.
We are going to start by taking an inventory of the system, that would be IP configuration, what software or server and roles are installed on the system, and we are going to back up that data to a secondary hard drive that we added to the server.
Once we have done that, we are going to run through the installation and the upgrade. Then we are going to go back and look at that inventory that we took and we are going to make sure we restore all configuration settings if any were lost.
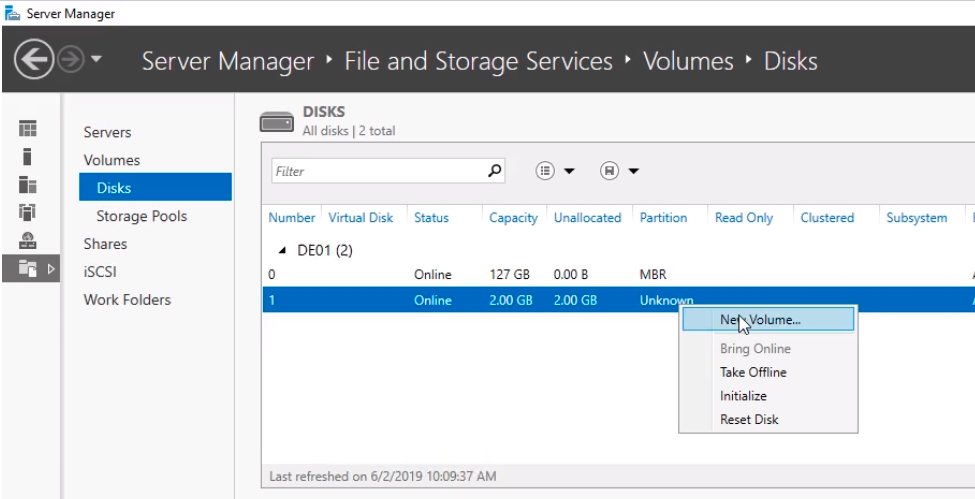
So the first thing we need to do is to create a second volume where we can store this information so it would not be lost during the upgrade.
I’ve attached a second hard drive to this virtual machine. Click on Server Manager and on the left pane click on File and Storage Services, click on Disks and we should see a 2 GB disk. Right-click and choose New Volume...
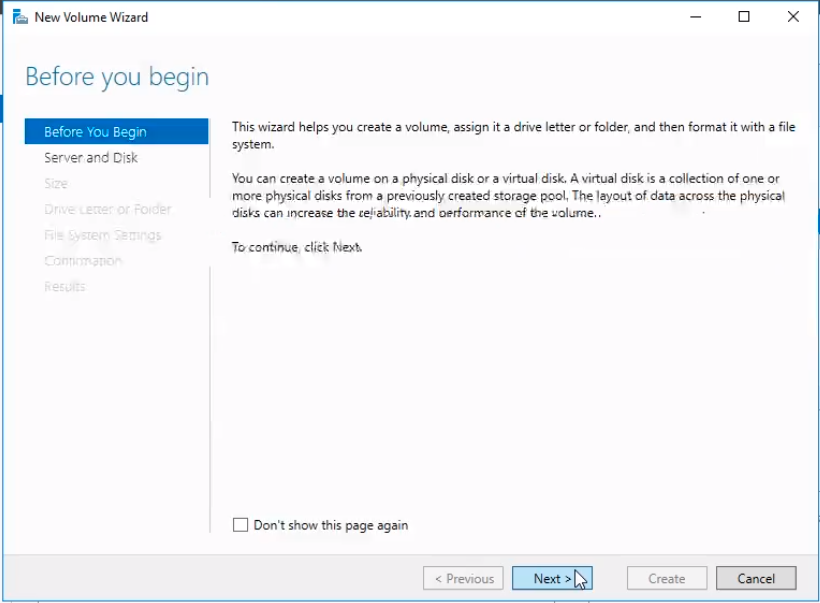
Click Next on the Before you begin New Volume Wizard.
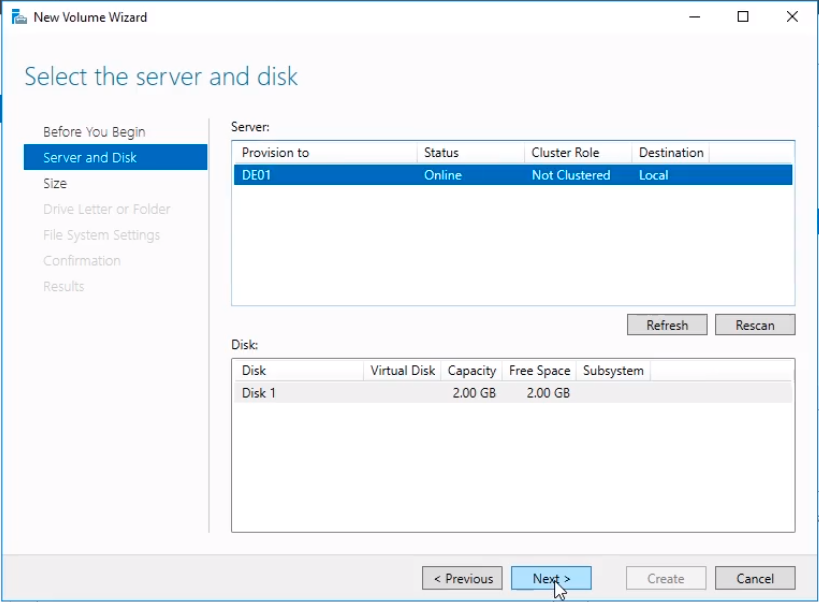
Leave the default prompts and just click Next.
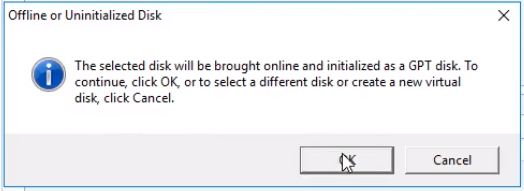
An informational window might appear saying that it will initialize and bring online the disk. Click OK.
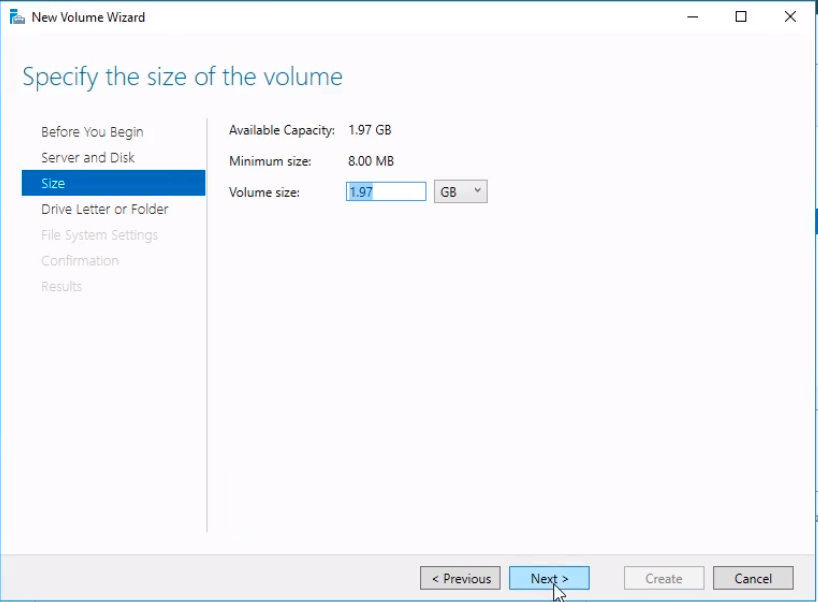
Click Next again to continue.
Click Next again leaving the defaults.
No comments yet. Add the first comment to start the discussion.