Installing Roles and Features on Windows Server Desktop Experience
In this lesson, you are going to learn how to install Windows Server Roles and Features.
You can think of a Role or Features like a Snap-In or a Module that you add onto your base operating system installation to provide more services to your network. For example, you can install the DNS server role and make this server a DNS server for your network. You can also install the Hyper-V server role and begin managing virtual machines on this server.
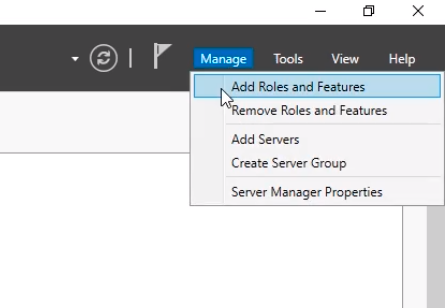
So the way we are going to get started is by opening Server Manager and at the top right, we have the Manage menu. Click on it and select Add Roles and Features.
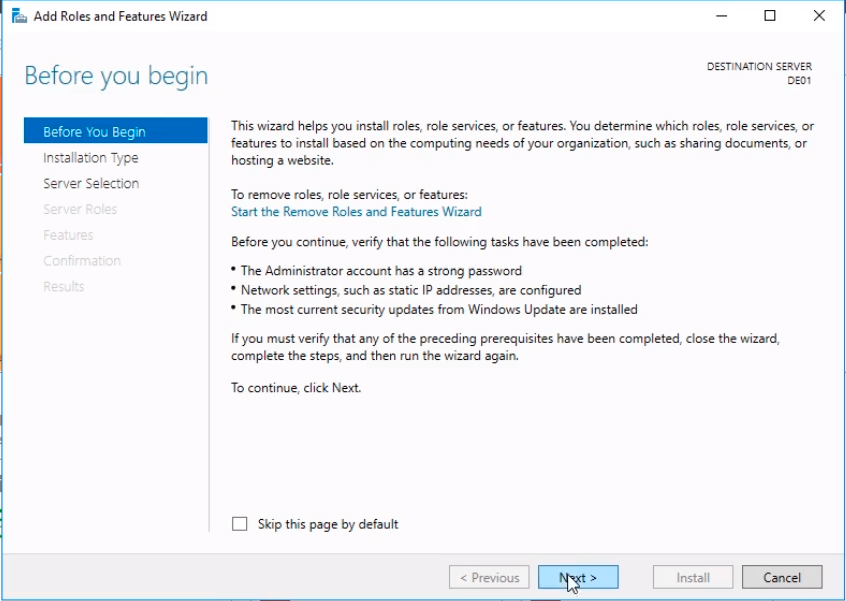
The Add Roles and Features Wizard appear to walk us through the installation of a Role or Feature.
The first window Before you begin gives us information on what we can do with it.
Click Next to begin.
Now, we need to Select the installation type. Here 9 times out of 10 you will be doing a Role-based or feature-based installation.
We can choose Remote Desktop Services installation, and we can set this up for Virtual Desktop Infrastructure which is commonly referred to as VDI. Now, that really goes out of the scope of what we are trying to do in this course so we select the first option Role-based or feature-based installation which is what you will be doing 99 out of 100 times in the IT field.
Click Next to continue.

In the Select destination server window, the only option we have is the DE01 on the server list. This is the Desktop Experience server that we are currently running on.
Now, this is what I talked to you about before, that you can add another server, like a Windows Server Core for example as a managed s…
No comments yet. Add the first comment to start the discussion.