Instructions
Q&A (0)
Notes (0)
Resources (0)

Saving Progress...
Resources
There are no resources for this lesson.
Notes can be saved and accessed anywhere in the course. They also double as bookmarks so you can quickly review important lesson material.
In this lecture, we are going to be downloading all the software that we are going to need for the upcoming courses setting up our lab environment.
I am going to open my preferred Web Browser which is going to be Internet Explorer and I am going to navigate to https://www.google.com.
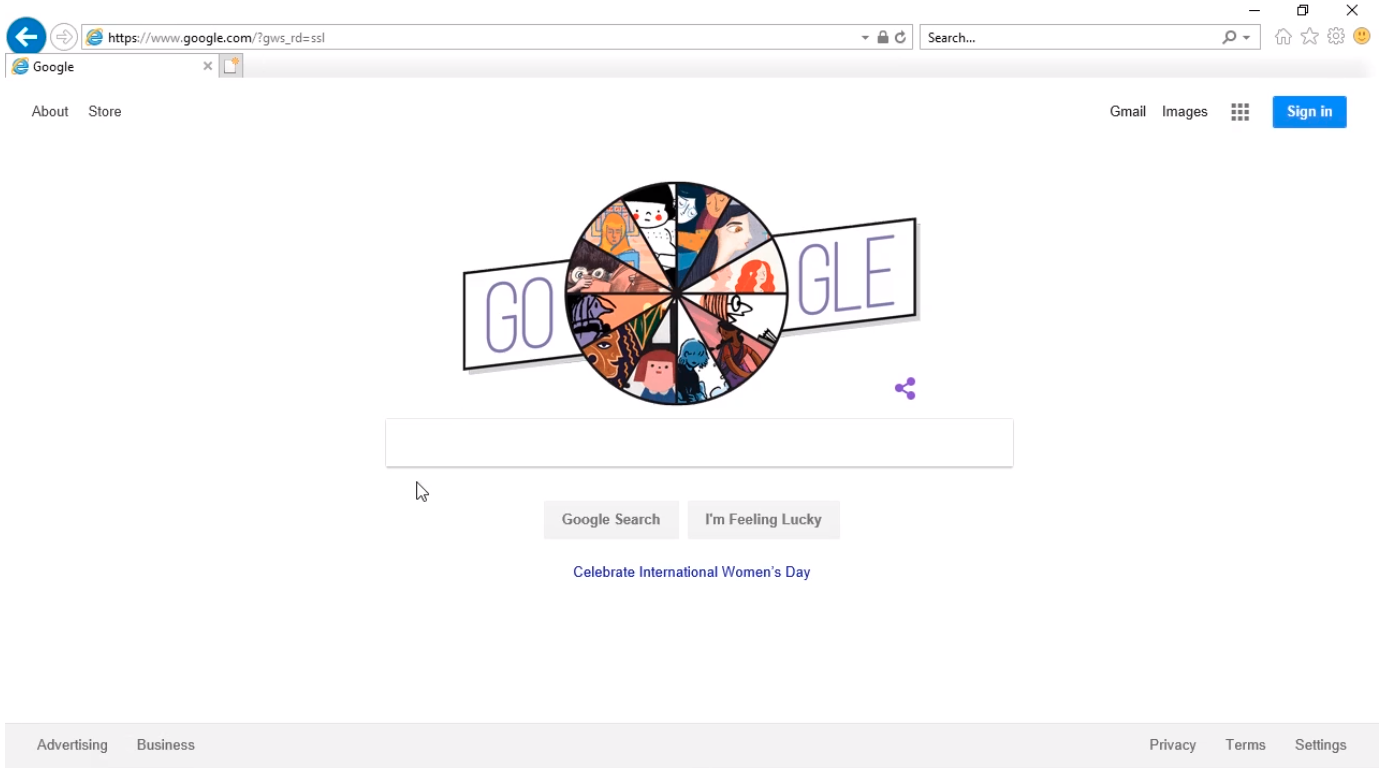
Let’s start by downloading VirtualBox. I am going to type VirtualBox download into the search box and press Enter.
From the search results, I am going to click the first result which is https://www.virtualbox.org/wiki/Downloads to go to this page.
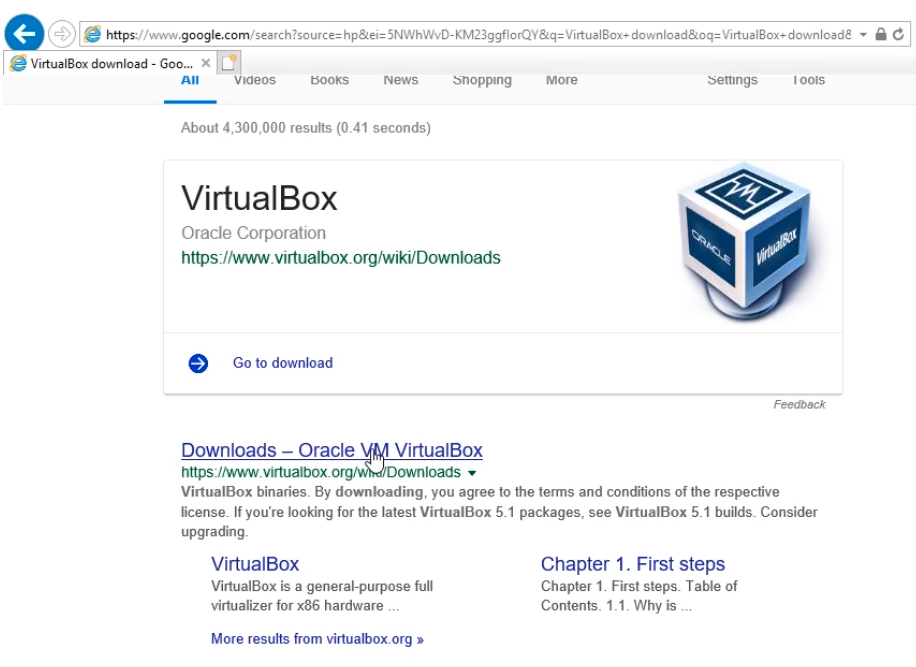
Now, we need to choose which version we want to download.
If you are following along in a Mac that’s fine, you just need to choose the appropriate version. The cool thing is you can follow along in this course on either a Windows computer or a Mac computer. I am going to choose Windows hosts since I am on Windows 10.
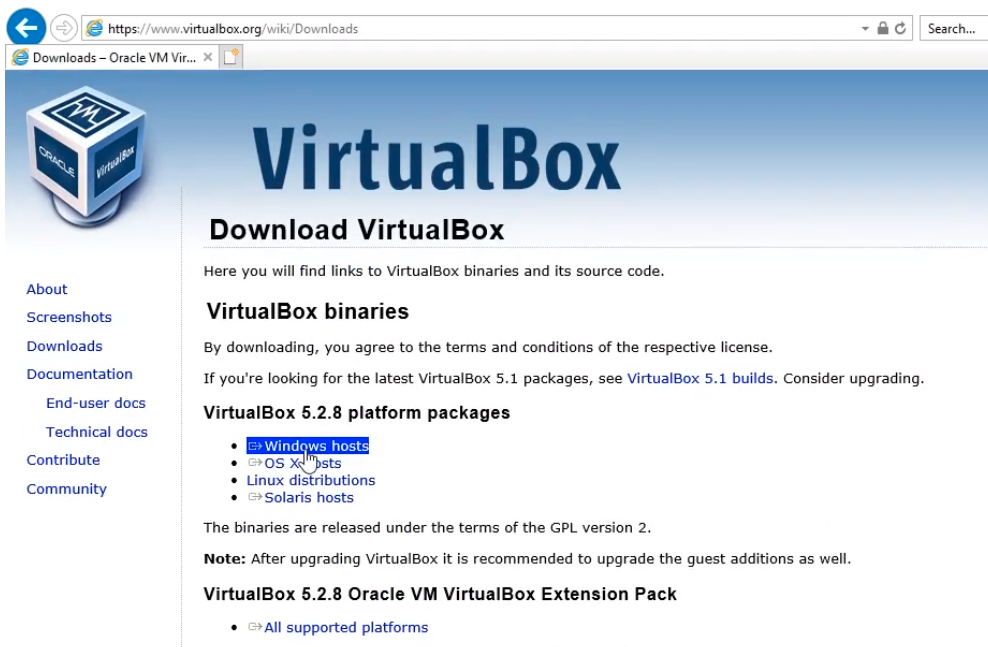
Click on the Save button.

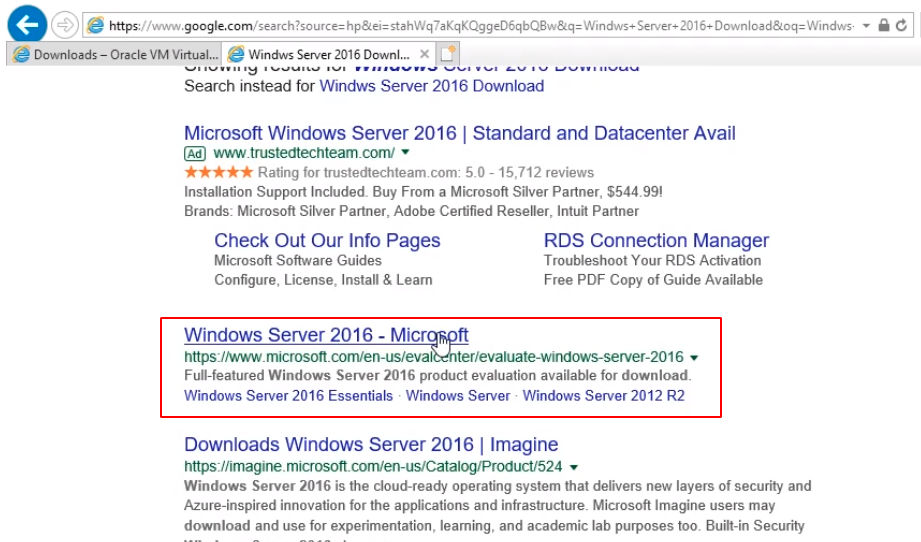
While the installer is being downloaded I am going to open a new tab and navigate again to https://www.google.com and I am going to search for Windows Server 2016 Download and press Enter.
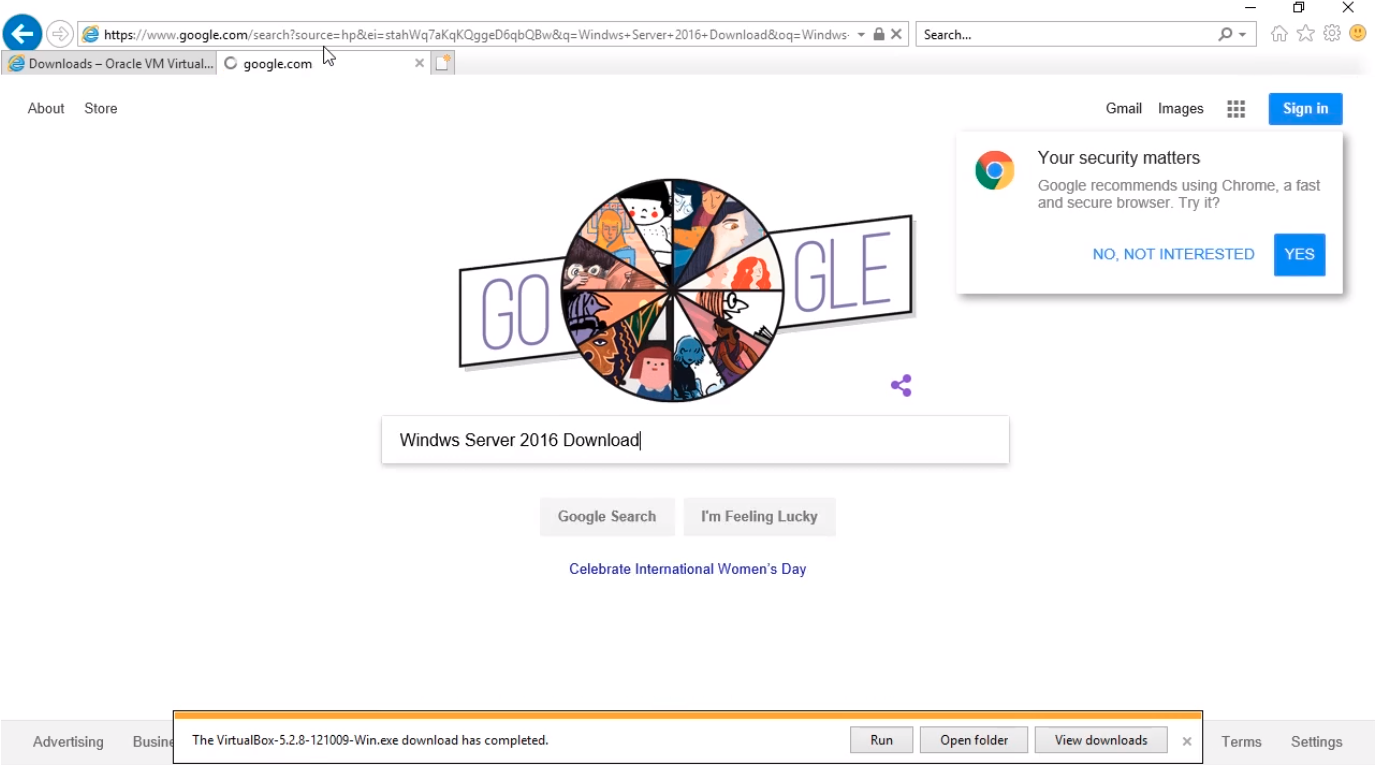
From the search results, we only want to go to a Microsoft trusted website. We are going to choose from the search results https://www.microsoft.com/en-us/evalcenter/evaluate-windows-server-2016
Now we are brought to the Windows Server Evaluations site. This is a perfectly legal copy, an evaluation copy of Windows Server 2016.
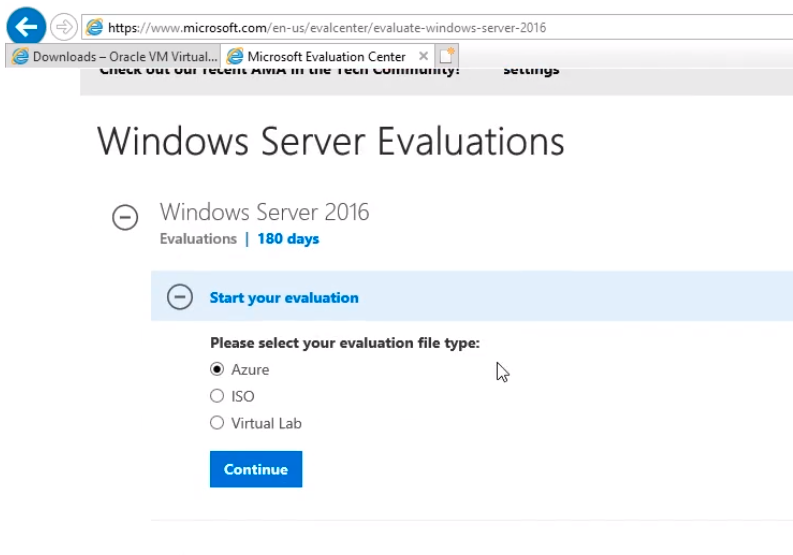
The option we want to choose is ISO and we want to click on the Continue blue button.
Now, it’s going to ask us to register, so I am going to go ahead and type this information and click on Continue.
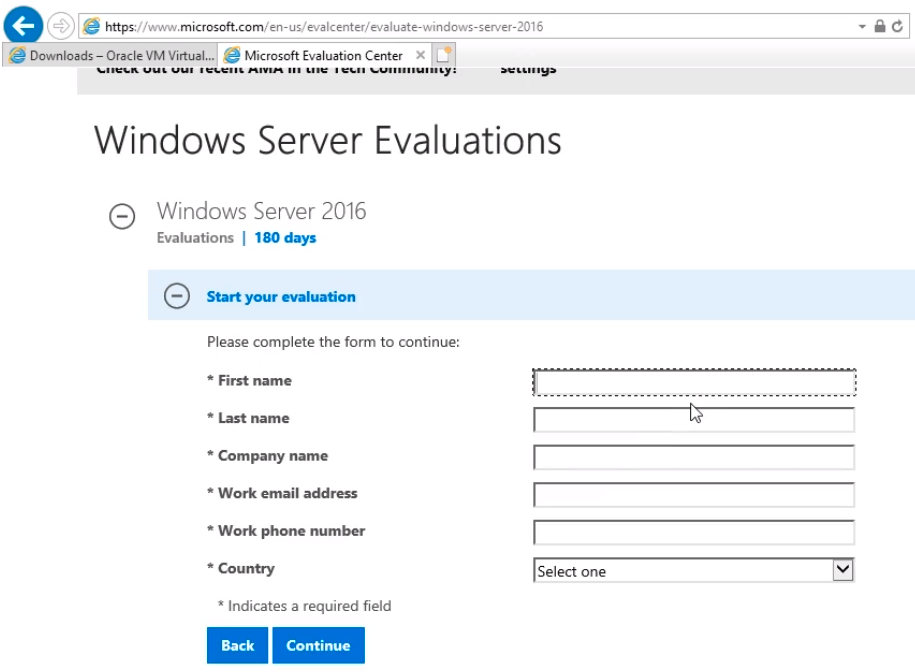
Now we are going to choose our language and click on Download.
We are going to click on the Save button.

The last thing we are going to download is Windows 10. This is completely optional, but I like to have a Windows 10 VM on my network just for more testing purposes so I can run updates to it. It is just a little bit different than Windows Server.
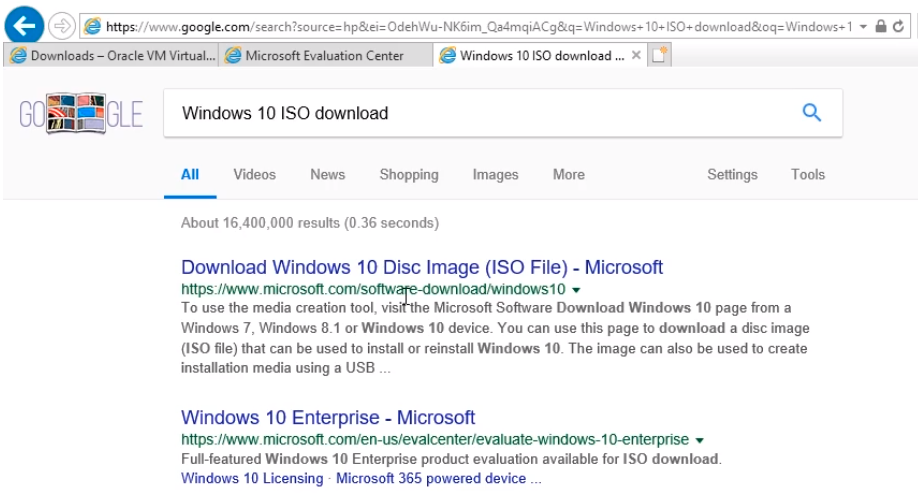
So, I am going to go again to https://www.google.com in a new tab and I am going to type Windows 10 ISO download and press Enter.
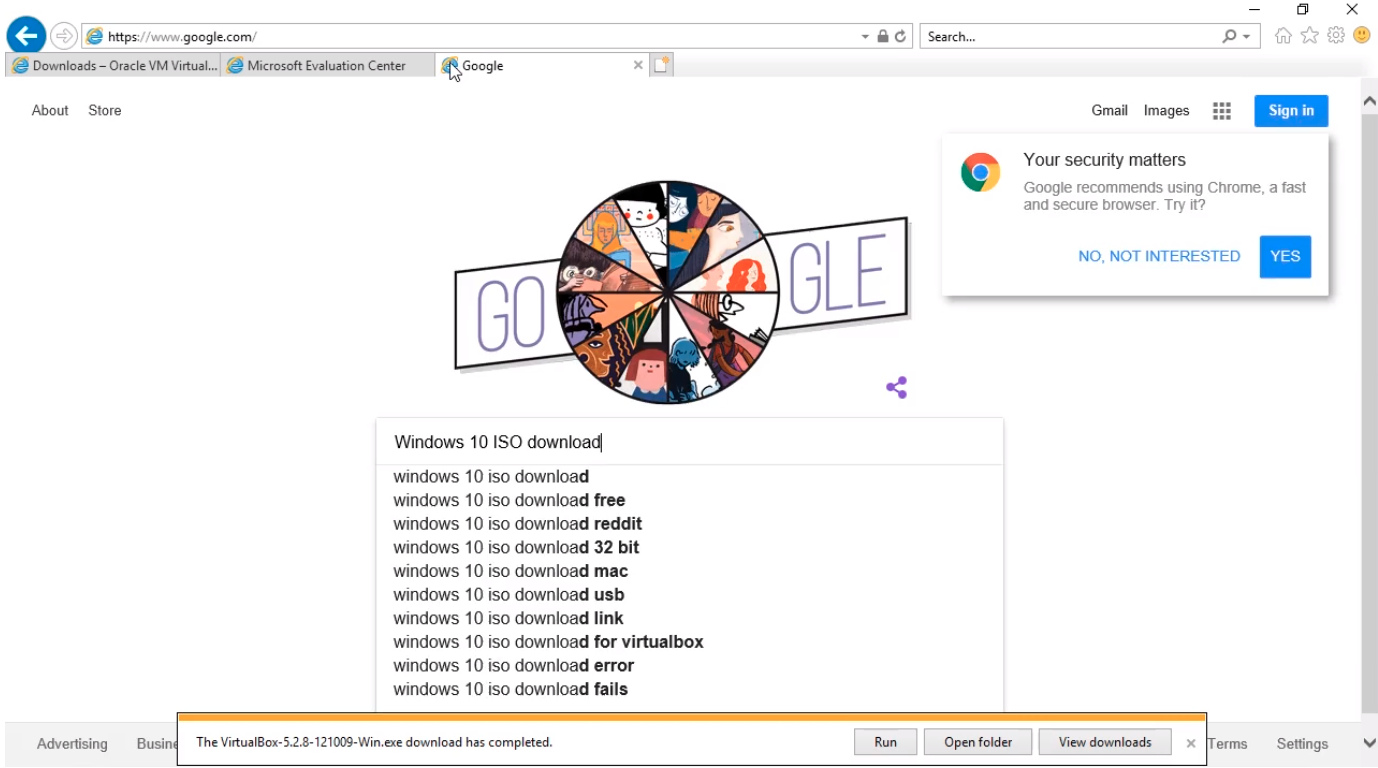
Here we can see the first link is https://www.microsoft.com/software-download/Windows10. I am going to click on this link.
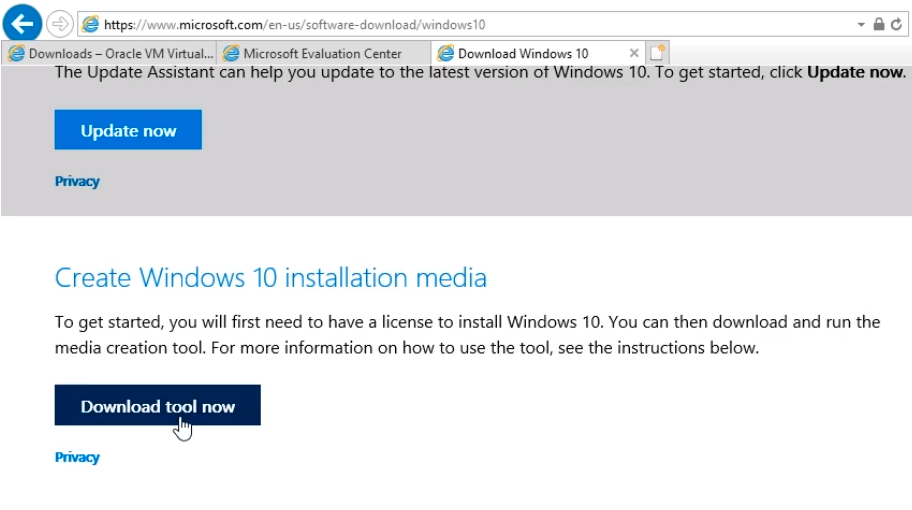
It will take me to Create Windows 10 installation media. So we can click on the Download tool now button.
And we are going to click Save.

Now, we are not quite done with this because we haven’t actually downloaded Windows 10, we just downloaded the tool, so the tool will actually allow us to download the ISO file that we are going to need.
So what we want to do is to click Run to execute the Media Creation Tool or click Open Folder in case the window gets closed.

Clicking on Open Folder takes us to the folder where the Media Creation Tool was downloaded. Double click on the file.

And the Media Creation Tool wizard launches.
If you are prompted by the UAC click Yes.
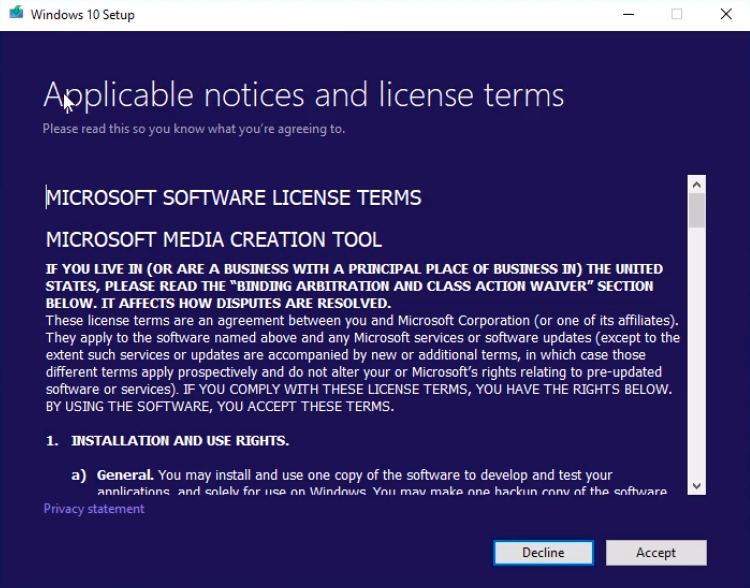
Now we are brought to the Applicable notices and license terms so I am going to click on Accept.
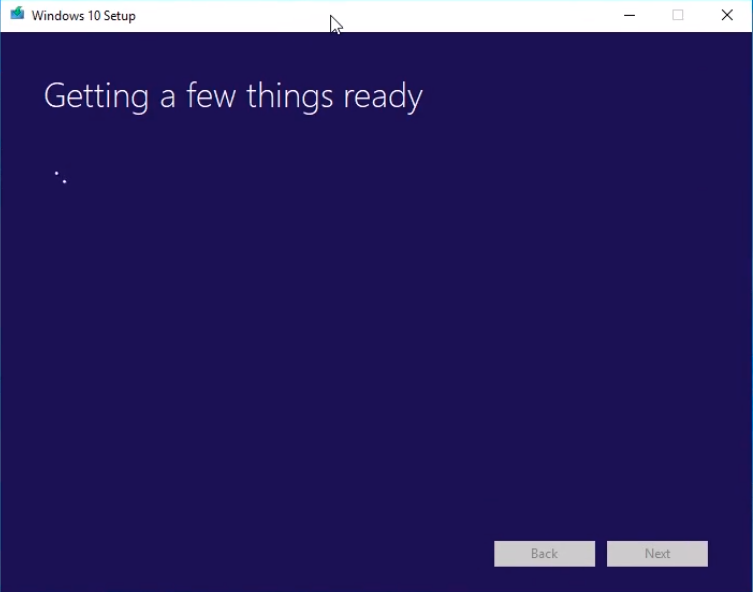
Now it says Getting a few things ready.
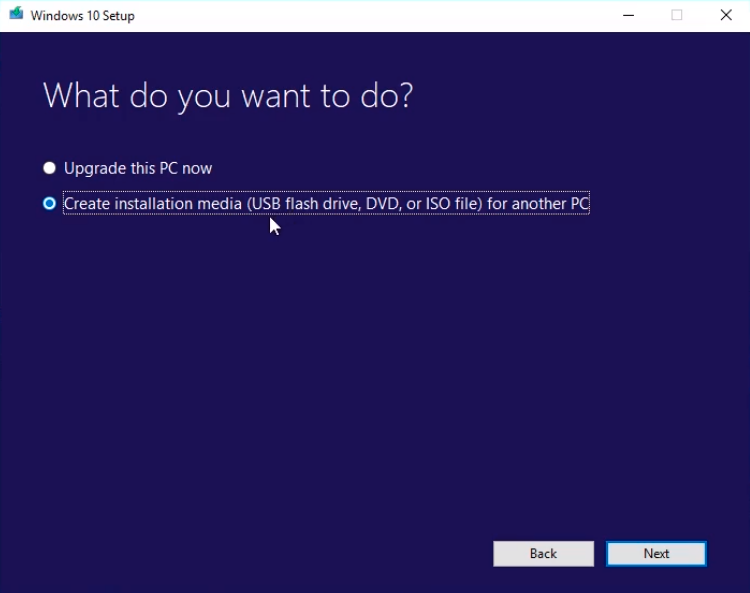
We want to choose to Create installation media (USB flash drive, DVD, or ISO file) for another PC and click Next.
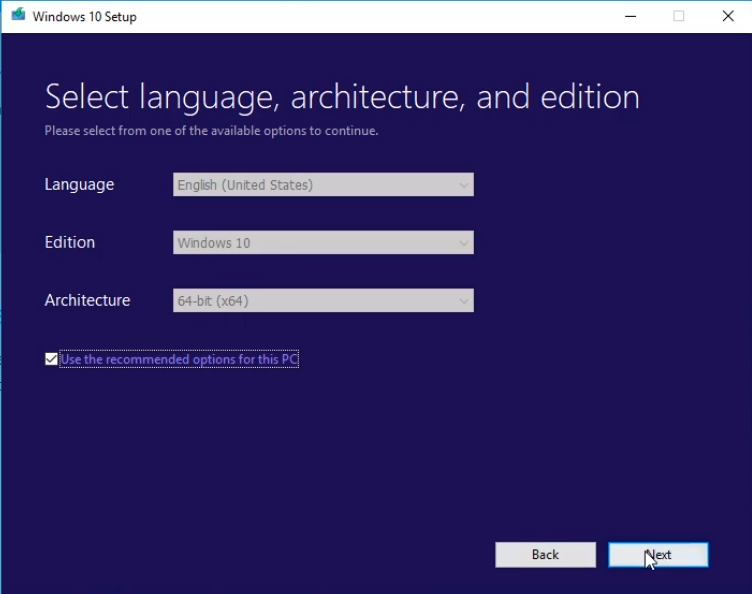
Again we are going to click Next accepting the defaults for Language, Edition, and Architecture.
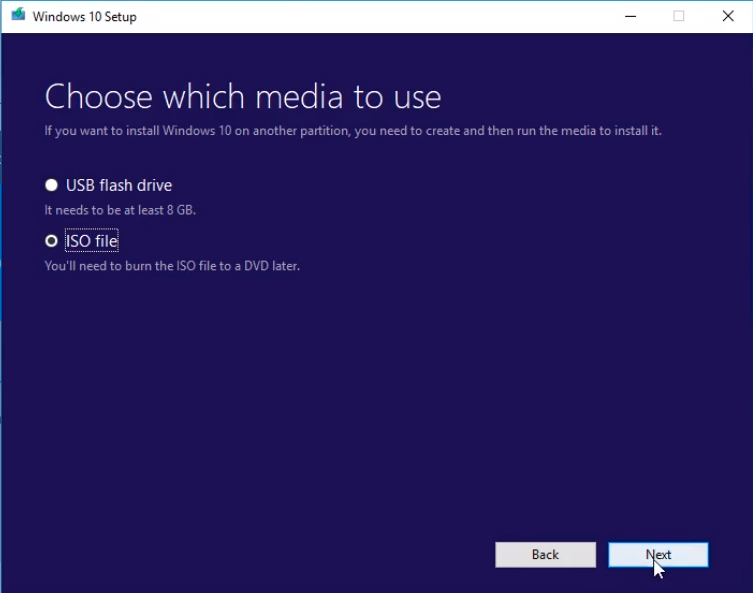
We are going to choose the ISO file option and click Next.
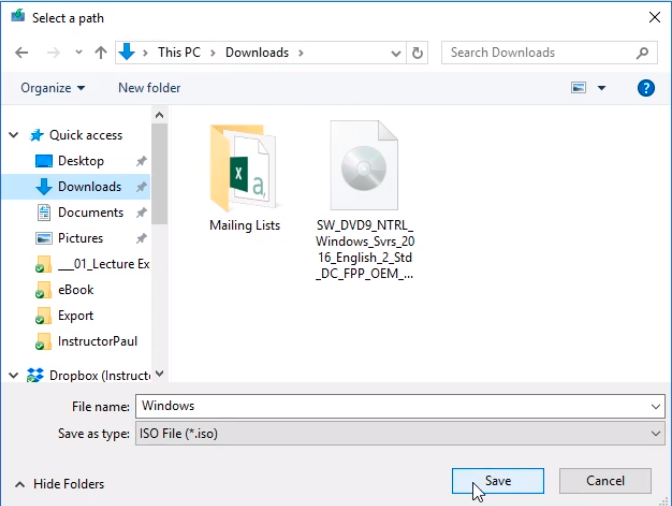
Now the wizard is going to ask us where we are going to save this ISO file. We are going to save it to the Downloads folder and click on Save.
And now the download will start and we can see the progress. We just need to wait.
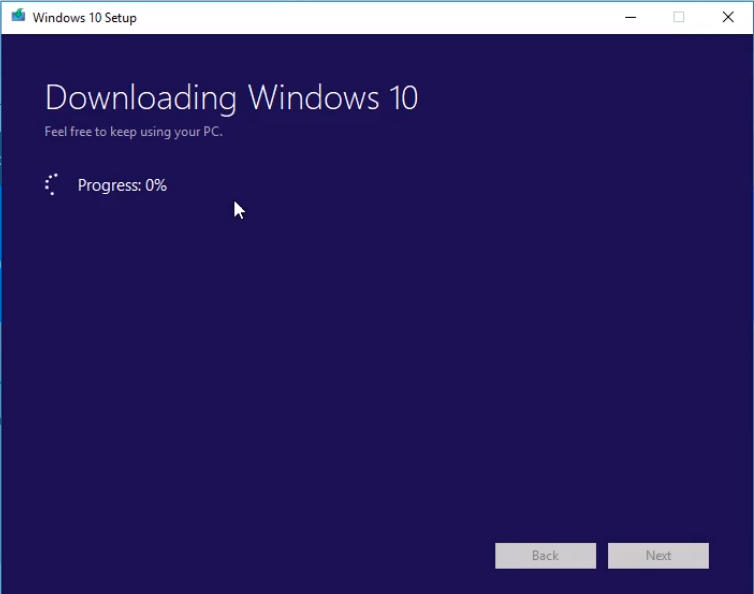
We can continue on to the next lecture while the download completes since we are going to install VirtualBox and the download should be complete for you already.


