Deploying Software with Group Policy
In this lecture, I am going to be showing you how to deploy MSI to your network with Group Policy.
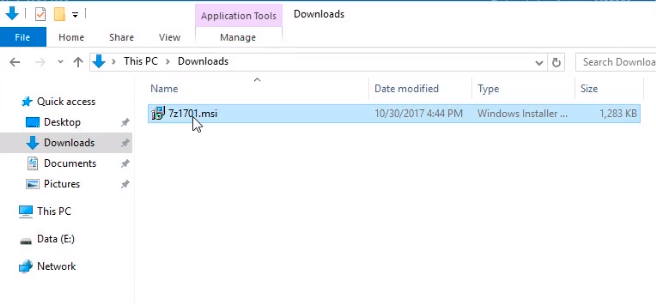
We are going to deploy 7zip. We have already downloaded it under the Resources of this lecture so you can find it here. You can google for 7zip MSI download to download it. Sometimes these MSI are updated or removed from the internet so we have attached them to this lecture.
Once we have downloaded the file 7z1701.msi.
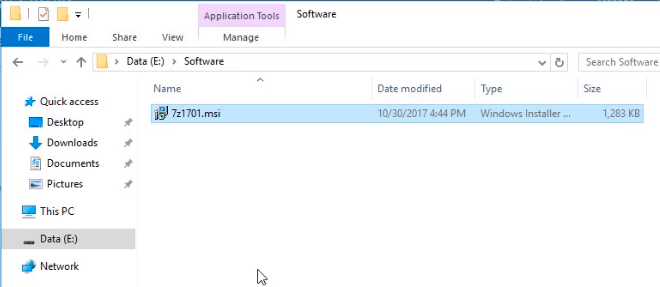
What we need to do now is to put it in a file share where our computers will have access to it. We are moving the file to our E:\ drive under a new folder named Software.
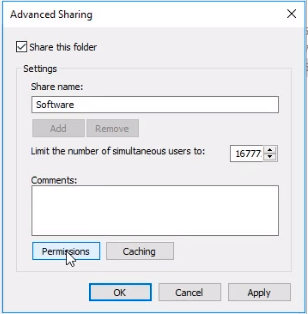
Right-click the Software folder and choose Properties, click on the Sharing Tab and click on the Advanced Sharing button.

Click the Share this folder checkbox and click on the Permissions button.
Now, let's remove the Everyone group by selecting it and clicking on the Remove button.
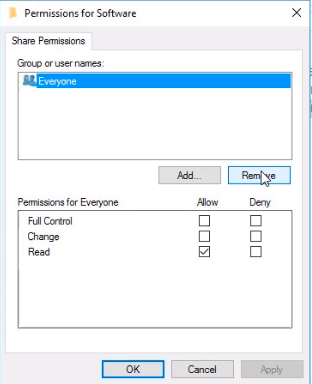
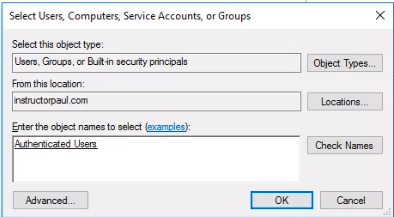
Click Add button and search from the box typing Authenticated Users and click on the Check Names button. If the group name is underlined then click on the Ok button.
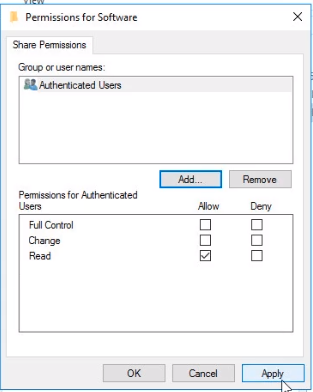
Make sure the Authenticated Users have Read permissions and click on the Apply and OK buttons.
Here we can see the network path to our shared folder. Copy the UNC path…
No comments yet. Add the first comment to start the discussion.