Create a Storage Blob
In this lesson, you will learn how to create a storage account, upload a blob (file), and manage access to the blob in Azure. You will also learn how to clean up resources when you're done.
Task 1: Create a Storage Account
- Sign in to Azure Portal :
- Navigate to Azure Portal and sign in with your credentials.
- Create a New Resource :
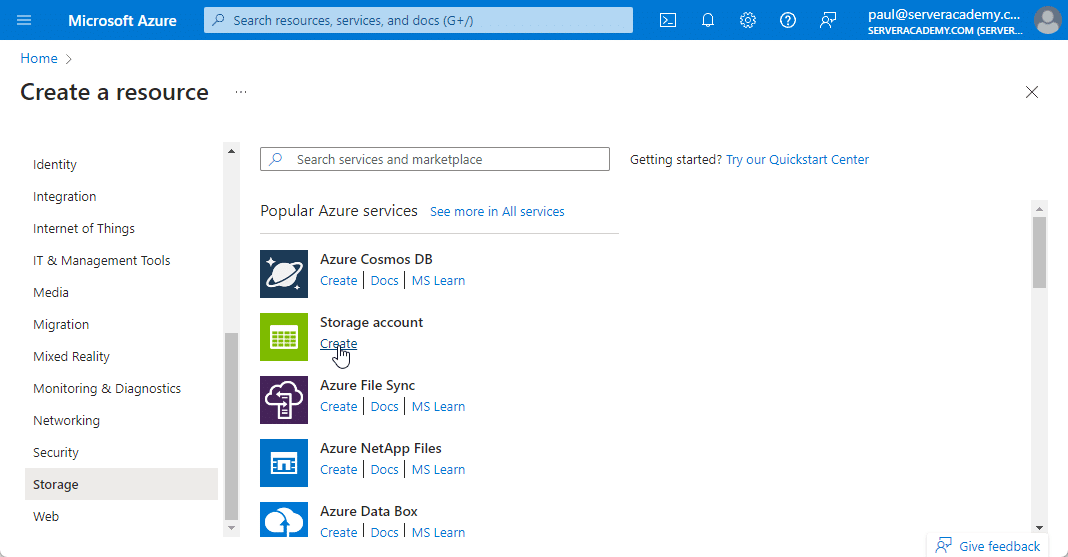
- Select Create a resource.
- Select Storage Account :
- Under Categories , select Storage.
- Under Storage account , select Create.
- Configure Storage Account Basics :
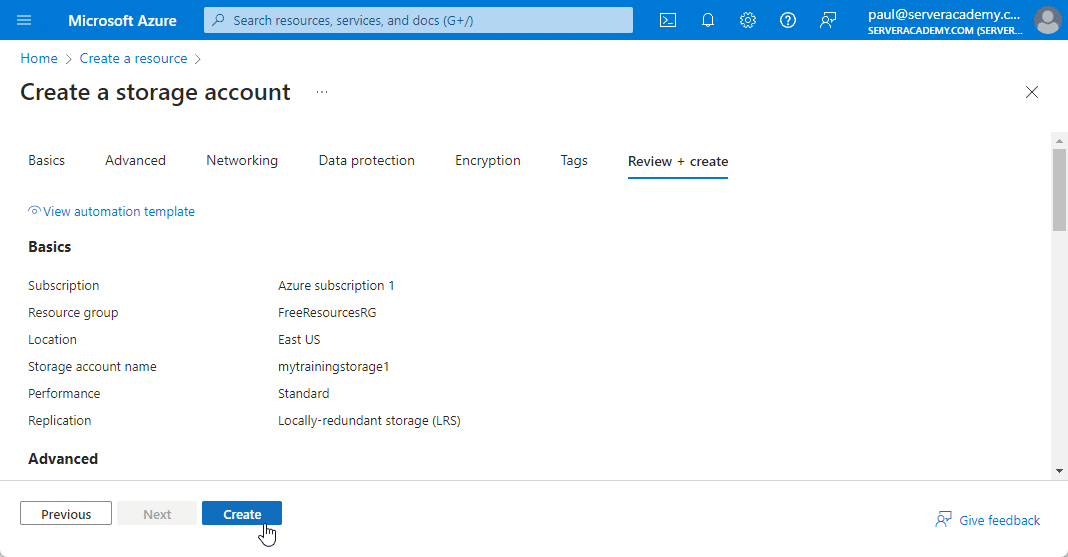
- On the Basics tab, fill in the following:
- Subscription : Azure subscription 1 (or whatever yours is)
- Resource group : FreeResourcesRG
- Storage account name : Create a unique storage account name like
mytrainingstorage1 - Region : Leave default
- Performance : Standard
- Redundancy : Locally redundant storage (LRS)
- On the Basics tab, fill in the following:
- Configure Advanced Settings :
- On the Advanced tab, check Allow enabling anonymous access on individual containers.
- Review and Create :
- Select Review + create to validate the configuration.
- Once validated, select Create.
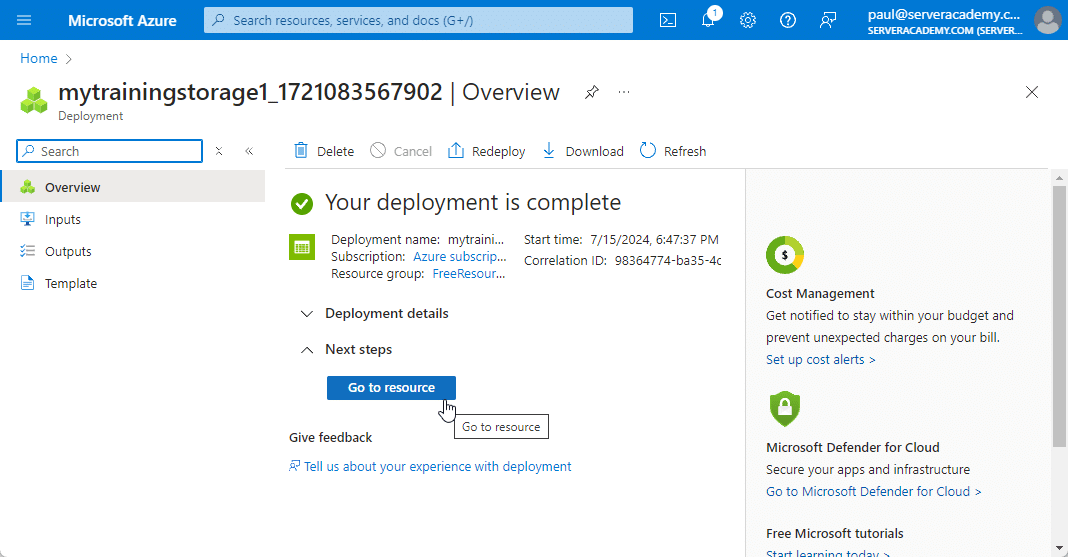
- Wait for the notification that the account was successfully created.
- Select Go to resource.
Task 2: Work with Blob Storage
- Create a Blob Container :
- Under Data storage , select Containers.
- Sel…
No comments yet. Add the first comment to start the discussion.