Create an Azure Resource
In this lesson, you will learn how to sign into your free Azure account, create a free Virtual Machine (VM), and then delete the VM when it is no longer needed. This step-by-step guide will help you get hands-on experience with Azure services.
Signing Into Your Free Azure Account
First, you'll need to sign into your Azure account to access the Azure Portal and its resources.
- Visit the Azure Portal
- Go to the Azure Portal.
- Sign In
- Click on the "Sign In" button.
- Enter your Microsoft account credentials (email and password) associated with your free Azure account.
- Click "Next" and complete any additional security verifications if required.
Creating a Free Virtual Machine
Next, we'll create a Virtual Machine (VM) using the free tier resources available in your Azure account. This VM will allow you to explore Azure's capabilities without incurring any costs.
__
When creating resources, make sure you always select "free services eligable" when available. Opting not to select this can incur charges. There is usually a summary screen that will show charges before you incur them.
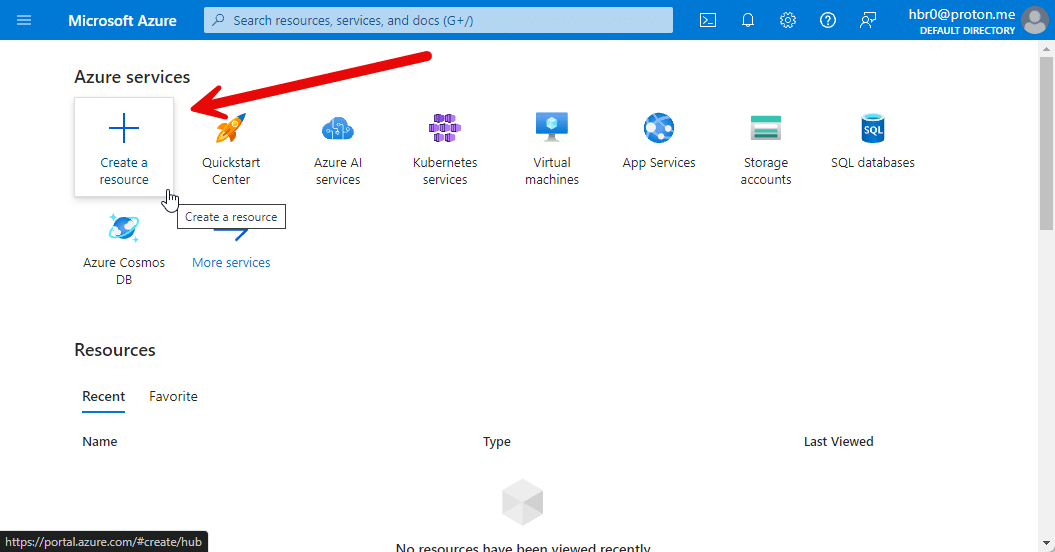
- Navigate to Virtual Machines
- Click on the "Create a resource" button found in the upper-left corner of the Azure Portal.
- Under Virtual Machine , select Create :
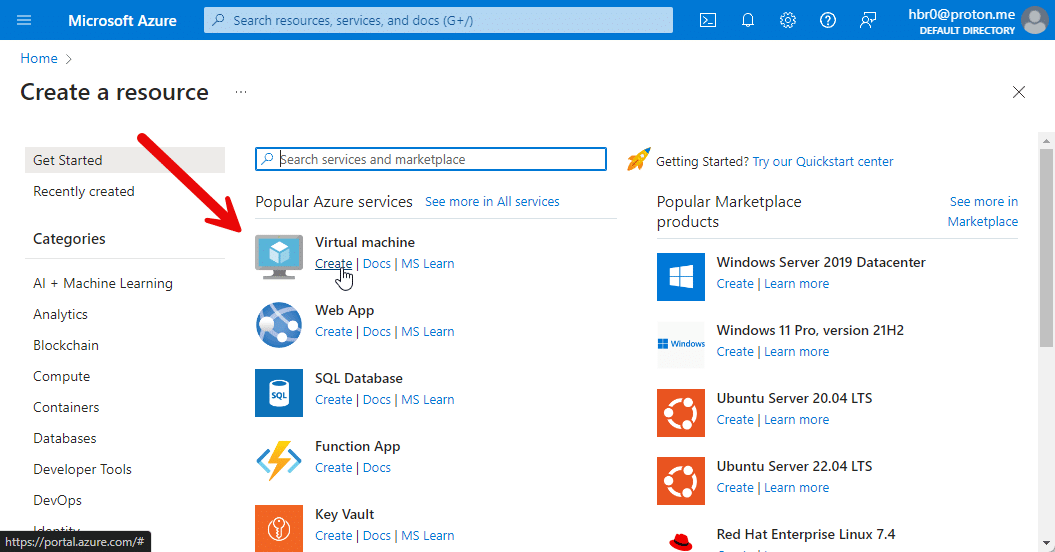
- Configure the Virtual Machine
- Ensure your free subscription is selected.
- Create a new resource group or select an existing one. For this example, create a new resource group named
FreeResourcesRG. - Give your VM a unique name, such as
FreeVM. - Choose a region that is close…
No comments yet. Add the first comment to start the discussion.