Configure DHCP Scopes, Exclusions and Lease Durations
In this lecture, you’re going to learn how to create a DHCP scope. We’ll be completing this lecture from the ITFDC01 server or any server that has a DHCP Server Role installed.
A DHCP Scope is a pool of IP Addresses on a specific subnet that can be leased by the DHCP Server. Each subnet can only contain one scope with a continuous range of IP Addresses. This means you cannot create a scope ranging from 192.168.0.1 through 192.168.0.25 and another scope from 192.168.0.30 through 192.168.0.50. The scope would instead need to be 192.168.0.1 through 192.168.0.50 and you will need to create an exclusion for the IPs ending in 192.168.0.25 through 192.168.0.30.
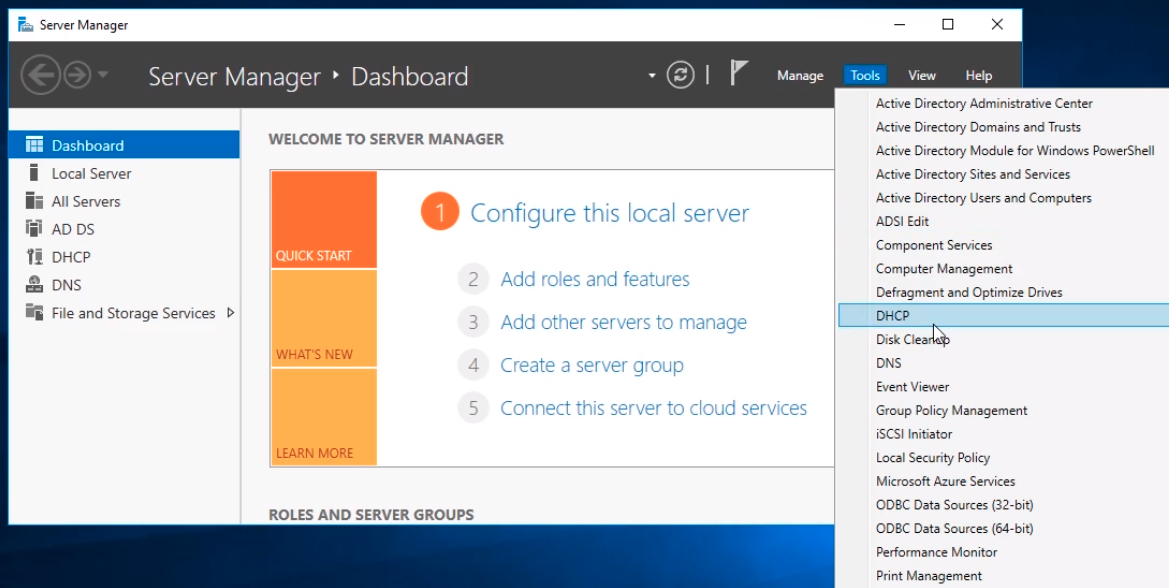
To create a DHCP scope open the DHCP management console by opening Server Manager and selecting Tools > DHCP.
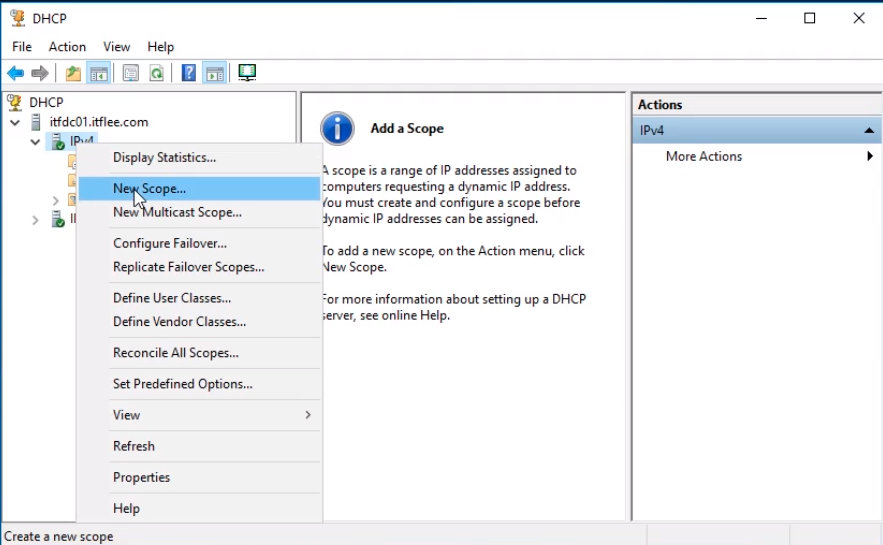
Click on the DHCP server we want to configure, in this case, itfdc01.itflee.com. Next, right-click on IPv4 and select New Scope…
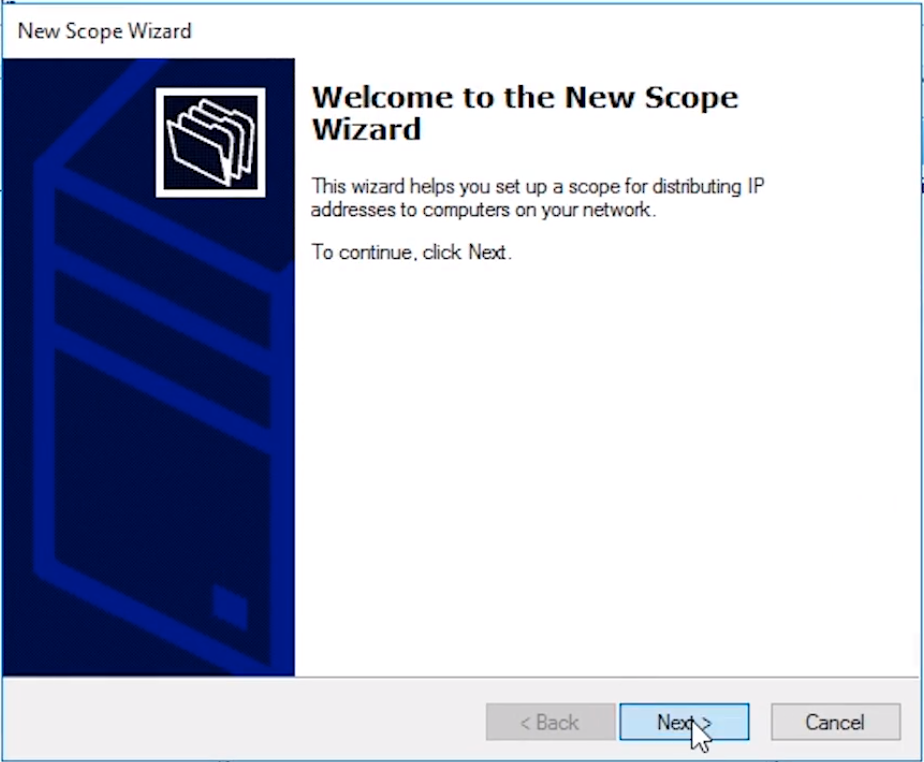
The New Scope Wizard will appear. Click Next to continue.
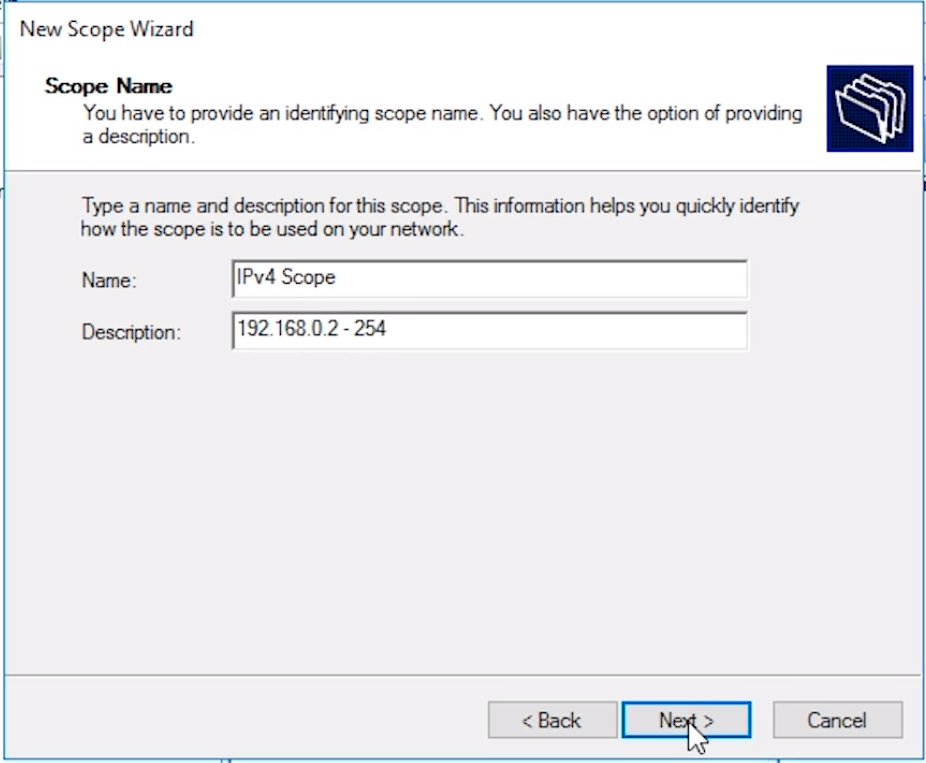
In the New Scope Wizard window specify a scope Name and Description.
For the Name, we will enter IPv4 Scope and for the Description, we will enter the scope we intend to use 192.168.0.2-254.
Click Next and move on to the next screen.
Enter your Start IP address and End IP address in the IP Address Range window.
Again, we will use 192.168.0.2 as my start IP address and 192.168.0.254 as my end IP address. We are starting with 192.168.0.2 because 192.168.0.1 is our Default Gateway and we use 192.168.0.254 because 192.168.0.255 is the network Broadcast Address.
The Len…
No comments yet. Add the first comment to start the discussion.