Overview
There may come a time when you need to manually install several Microsoft update *.msu files. If you have a laptop that cannot be connected to the internet or a WSUS server and have several update files to install it can take an entire day to install all of them.
A quick and easy way to avoid the pain and repetition of this is to script the installations and that is what you will learn in this tutorial:
Contents
The Manual Method
One way to handle this is the manually launch each windows update installer file. This will result at you seeing a screen like the screenshot below for anywhere from 10-30 minutes for EACH update.
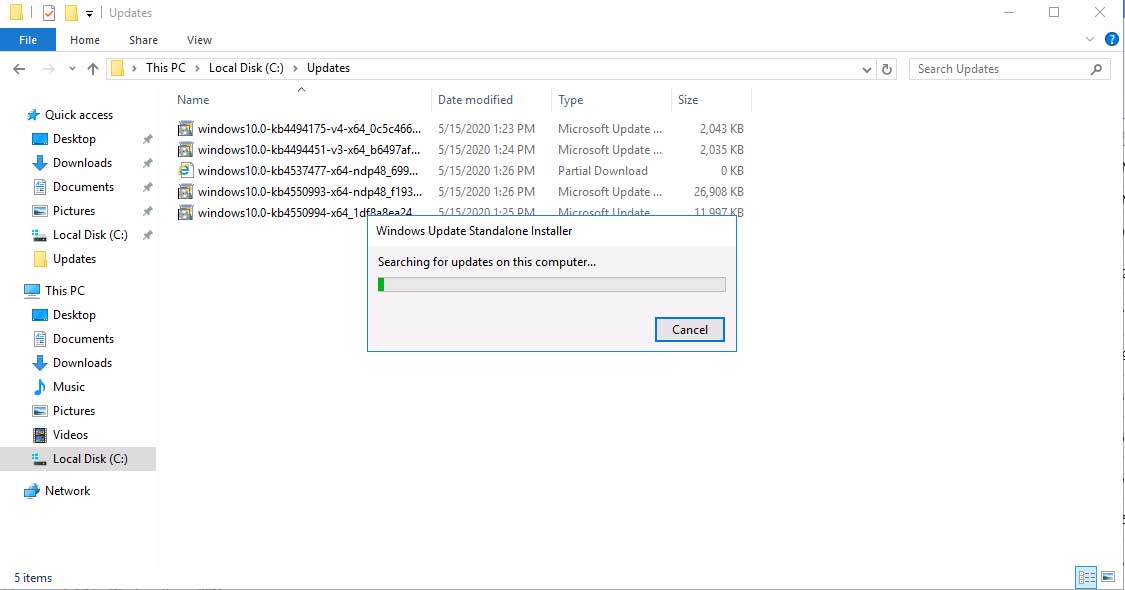
Obviously this is an inefficient method and huge time waster. I was contacted by someone who had to install roughly 50 updates and the process would have taken them several days to complete.
Whats most frustrating is if your computer doesn't need the update then after waiting the 20 minutes or so you will see a message like this:
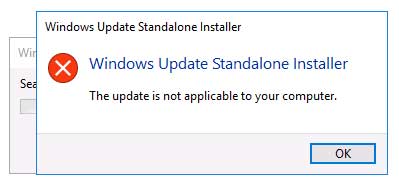
Not very ideal... The PowerShell script below is automated and will make the installation process MUCH faster.
Before running the script
Before you can get started this script assumes that you have downloaded all of your update files under a single folder. It's ok to have sub folders, but keep them all in one place.
Your update folder should look something like this:
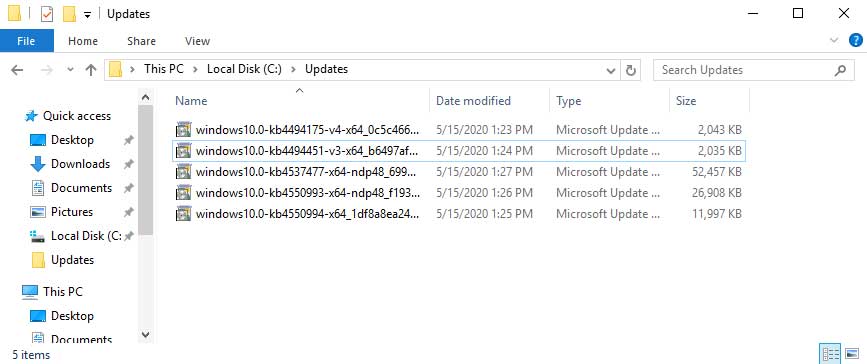
I have all of the update files under the "C:\Updates" path.
Update files have VERY long names so it's important that you place them under the C:\ drive and inside of a folder name with NO SPACES
If you're updates are located inside of a folder with spaces in the name (I.E. your desktop) the script will not work. The easiest way to make things go smoothly is to place them under the C drive.
View the Windows Update logs
Before you install your updates you want to open the event viewer and navigate to Windows Logs > Setup.
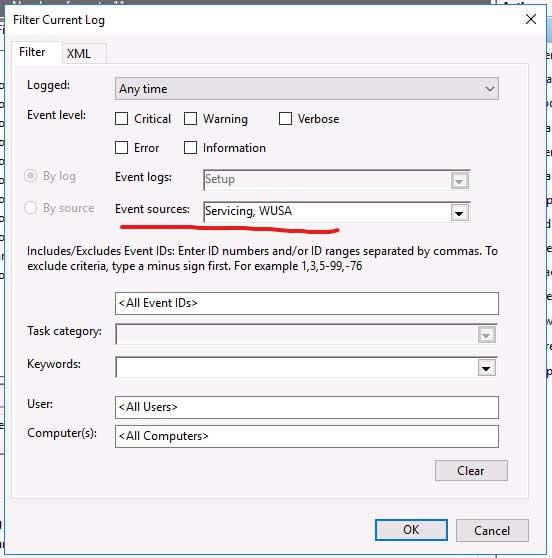
Once we install the updates we will be looking for the source "WUSA" and "Servicing". This is where you will find out why certain updates were not installed, if they successfully installed or if they require a reboot.
Consider clearing the log if you can or at least note the time when you start so you can easily find the logs later.
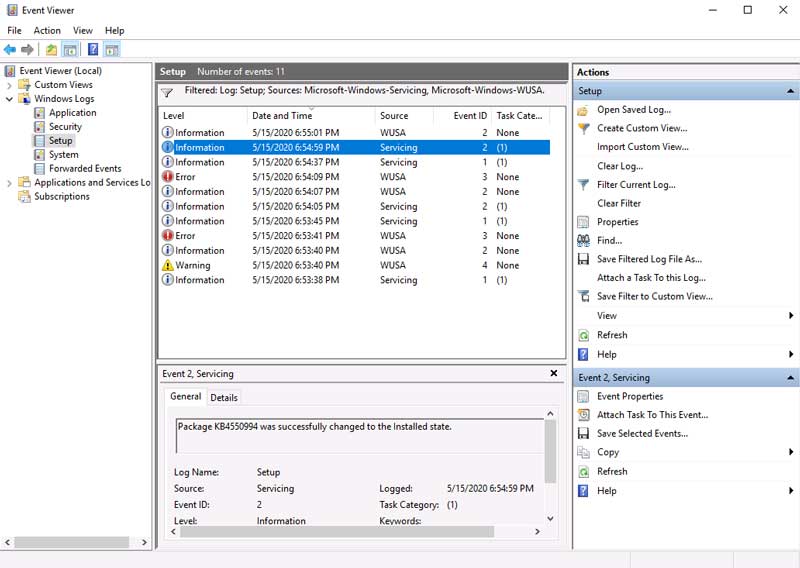
You can filter your log for WUSA and Servicing as well by clicking Filter Current Log on the right hand side:
Bulk install Windows Update FIles with PowerShell
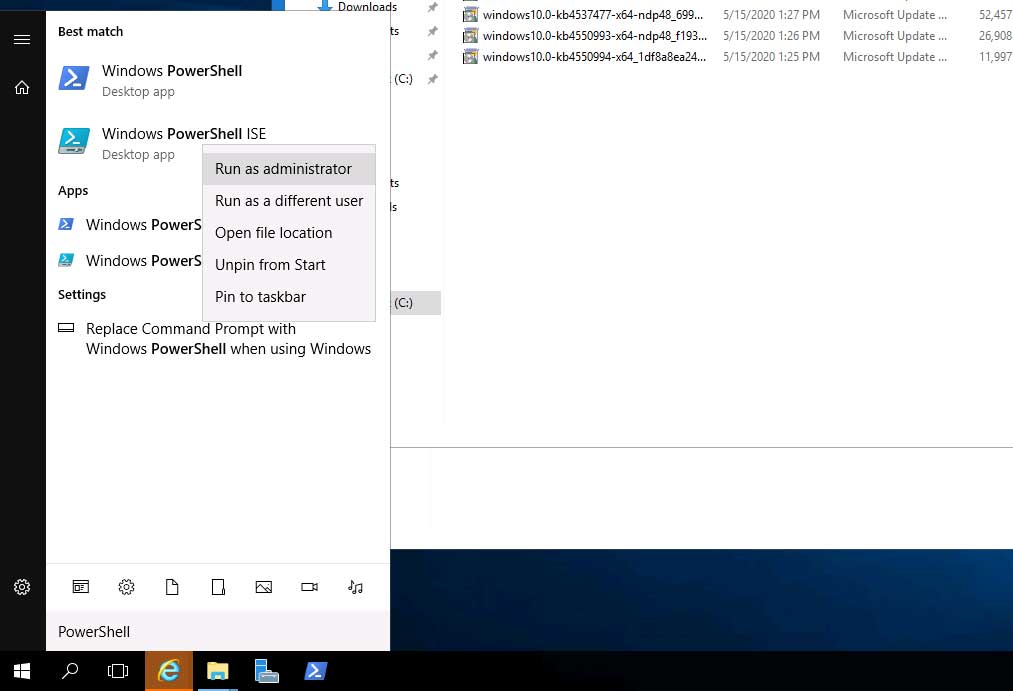
To get started writing the script be sure that you run PowerShell as an Administrator when you launch the PowerShell ISE:
First you can copy the full script which is outlined below. After that I will explain what is going on so you can better understand how to write these types of scripts yourself.
Full script:
# Run this script / ISE as administrator!
# Update these variables
$UpdatePath = "C:\Updates"

# Old hotfix list
Get-HotFix > "$UpdatePath\old_hotfix_list.txt"

# Get all updates
$Updates = Get-ChildItem -Path $UpdatePath -Recurse | Where-Object {$_.Name -like "*msu*"}

# Iterate through each update
ForEach ($update in $Updates) {

    # Get the full file path to the update
    $UpdateFilePath = $update.FullName

    # Logging
    write-host "Installing update $($update.BaseName)"

    # Install update - use start-process -wait so it doesnt launch the next installation until its done
    Start-Process -wait wusa -ArgumentList "/update $UpdateFilePath","/quiet","/norestart"
}

# Old hotfix list
Get-HotFix > "$UpdatePath\new_hotfix_list.txt"
At the top we are declaring a variable of $UpdatePath. That is just so you can easily change where the update files are located in your environment.
Next we get all files in that path with a name like *msu*. This is the Windows Update KB installer file extension. This will store all of those update files in the $Updates variable. We can later call the $Update variable and its properties:

Next we are going to start a ForEach loop. This will take all of the items in the $Updates array object and iterate over them one by one and execute commands on each item called $Update.
First we are going to get the full file path and store it in the $UpdateFilePath variable. Next we do some some logging with the write-host command so we can see what's going on in the console.
The final command in the ForEach loop is the start-process command. We use this instead of just calling wusa because it has the -wait argument. When we pass -wait, it will wait until the command finished before starting the next installation. This is important because we don't want all the updates to begin their installation at the same time.
Finally we get a new update list with Get-HotFix command.
Conclusion
And that's it! When you execute the script you will see it installing all of the updates in your update folder. Now you just compare the two hotfix_list.txt files and inspect your Windows logs for errors.

This script will save you tons of time and allow you to start the script and go get a cup of coffee 😀


