In this tutorial we are going to take a look at how you can use the Task Scheduler to run your automation scripts and make your life easier. This means you can spend more time watching cat videos, and less time doing repetitive tasks every day. That’s important! For me,…
In this tutorial we are going to take a look at how you can use the Task Scheduler to run your automation scripts and make your life easier. This means you can spend more time watching cat videos, and less time doing repetitive tasks every day. That’s important!
For me, I have a server called INSASC01. It’s a Windows Server that’s only purpose is to run our script automations. Every day, I need to log into the server and run two commands that will sync the scripts on the server with GitHub.com. The command looks like this:
git reset --hard
git pull
This will make sure that the scripts on the local server are in sync with updates that have been pushed to GitHub.com from our developers. Well, I’d much rather be watching a cat video than logging in and running these two commands… so let’s automate it!
As a bonus, how about we make it run once a minute so those scripts stay….. really up to date…. Overkill you say? Well, probably true.
What you need to make this work
There are a couple things we need to set up before this can be set up to run without any interaction on my end:
- Write a script to sync with GitHub.com
- Create a service account and a service account group
- Create a GPO that allows the service account group members to run as a batch job
- Create the scheduled task
Write a script to sync with GitHub.com
For this all I needed to do was download git-scm for windows and run the initial git clone of my repo so provide my user credentials. This step is kind of unrelated to you and very specific for my scenario.
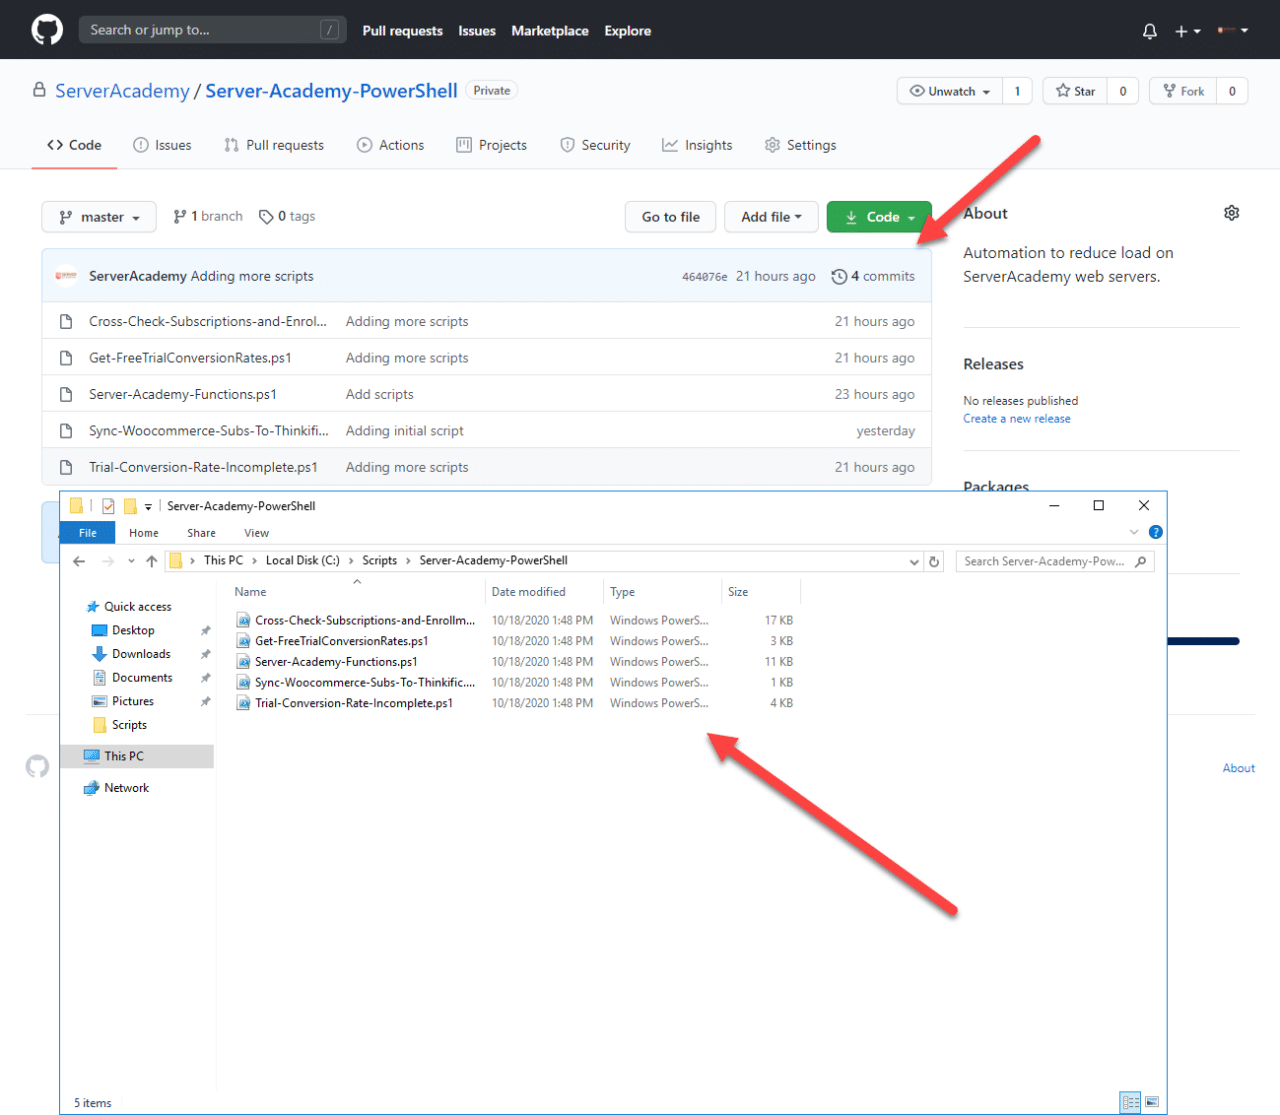
But essentially I can now run two commands to make sure that my local folder matches what is uploaded to GitHub.com
git reset --hard
git pull
When I make changes and push them to GitHub.com, the command above will make sure that my local server has the same scripts as those hosted at GitHub.com.
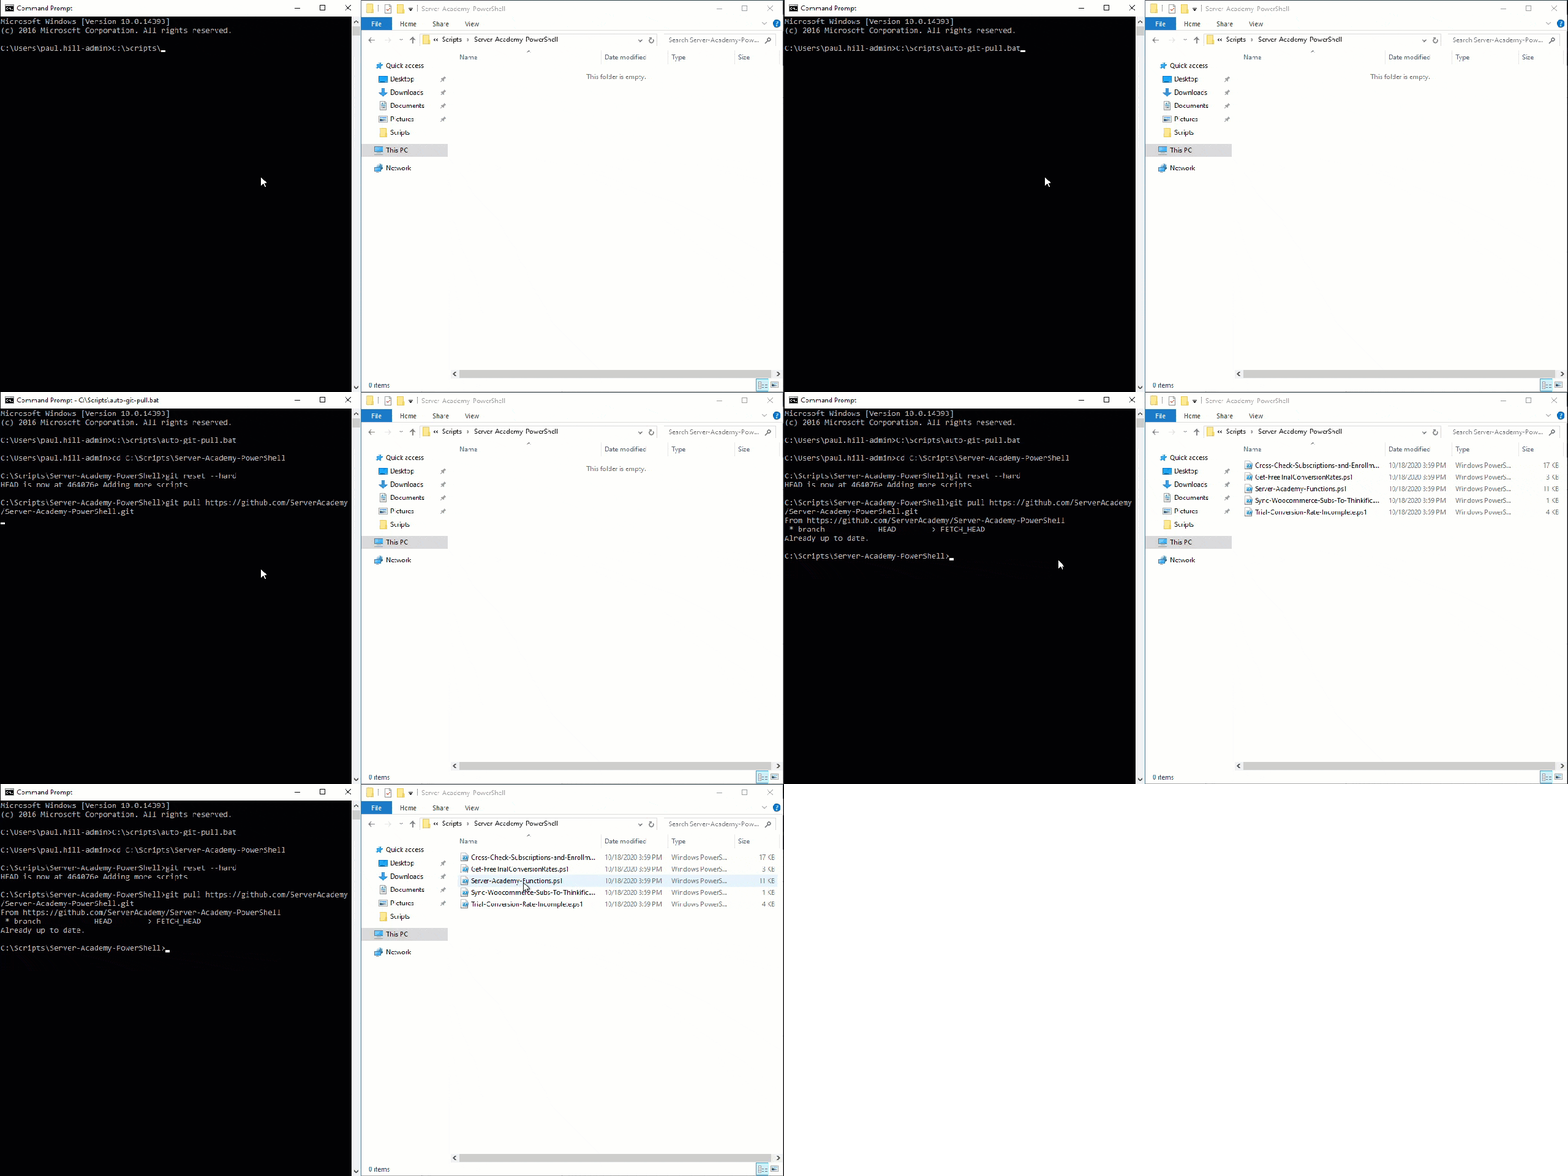
I wrote a very simple batch (*.bat) script that will CD into the script directory then run those two commands:

Now when I run that script it will make sure that my scripts are all up to date no matter what the state of the local script repo:

Create a service account and a service account group
Before we can schedule this task, we should create a service account with limited permissions inside of our domain. We could use our user account, but this is generally a bad practice because…
- You’re account was locked out
- Your password expired
- Your account was disabled
- Your account was deleted
- Your account lost the “log on as a batch job” user right
All of these scenarios will cause the scheduled task to fail. We could create an MSA (Managed Service Account), but for simplicities sake we are going to use an old fashioned AD user account.
If you’re doing this in a live / production network then you should consider reading up on the Top 10 Active Directory Service Accounts Best Practices in 2020.
I’m going to open the Active Directory Users and Computers console on my Domain Controller by clicking Tools > Active Directory Users and Computers in Server Manager:

I created a zPowershell user and Service Accounts security group as shown below:

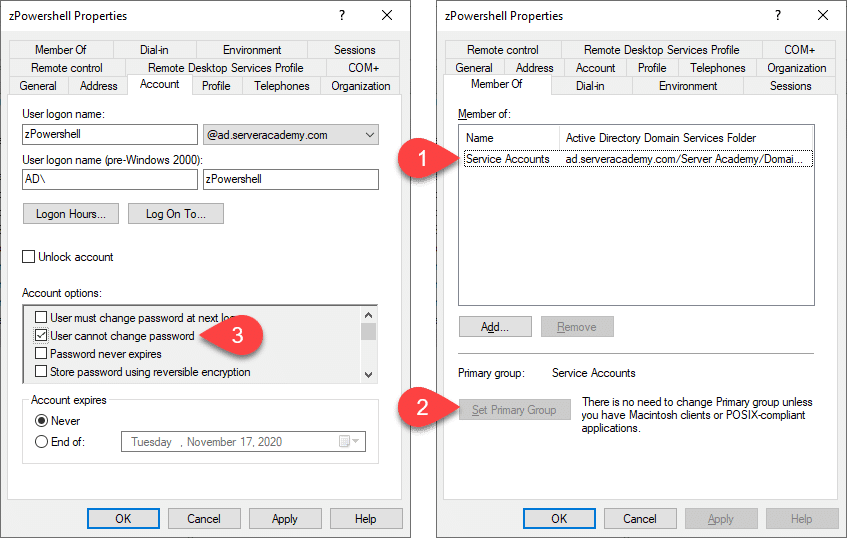
I added the zPowershell user to the Service Accounts security group then I set that to its primary group. I removed the Domain User membership since the account won’t need that. I also configured the user so it cannot change its own password.

Create a GPO that allows the service account group members to run as a batch job
Now we need to configure our target computers to allow zPowershell to log in as a batch job. This permission is required if I want to run my scheduled task whether or not the user is logged in.
To accomplish this, I am going to open the Group Policy Management console on my Domain Controller by clicking Tools > Group Policy Management in Server Manager:

I’m going to create a GPO and link it to the OU where my domain computers are located. Im calling my GPO Service Account Rights and Restrictions:

Inside the GPO I am going to configure the following settings:
Computer Configuration > Policies > Windows Settings > Security Settings > Local Policies > User Rights Assignment
- Deny log on locally: Service Accounts
- Deny log on through remote desktop services: Service Accounts
- Log on as a batch job: Service Accounts
Screenshot below:

Setting up service accounts can probably be a tutorial all on its own – so consider doing your own research into this to make sure you lock it down appropriately.
Create the scheduled task
I want to run my scripts from my INSASC01 script server, so I am going to switch over there. The important thing is that it is joined to the domain and will have access to the GPOs and the service account we just created.
To launch the Task Scheduler, simply click the Windows button and search “Task Scheduler”:

I like to create a new folder for my company so that my custom tasks are organized for other admins who come in behind me. So I just need to right-click on Task Scheduler Library and select New Folder…

I named this folder “Server Academy Tasks”. Inside of the folder I created a new Task

On the general tab we need to configure a few settings.
- Enter a name for your task (this can’t be changed later)
- Change the user account to your AD account that is a member of the Service Accounts security group (mine is zPowershell)
- Select Run whether user is logged on or not

Go to the Triggers tab and complete the following steps as shown below:
- Click New to make a new Trigger
- Check Repeat task every Set your repeat schedule (I am using 1 minute)
- Change for a duration of to Indefinitely
- Check Stop task if it runs longer than and set your desired time (my script takes a few seconds so I am using 30 seconds).
- Click OK.

Go to the Actions tab and complete the steps below:
- Click New
- Add your desired script under Program/script
- Click OK

Now go to the Settings tab and do the following:
- Check the second checkbox so the task will run ASAP if it missed a schedule
- Check the Stop the task if it takes longer than and set it to your desired time. Since my script only takes a few seconds, I am setting it to 1 minute
- Click OK

Click OK again to save the new task. Now you will be prompted to enter the password for the user account you configured for the scheduled task:

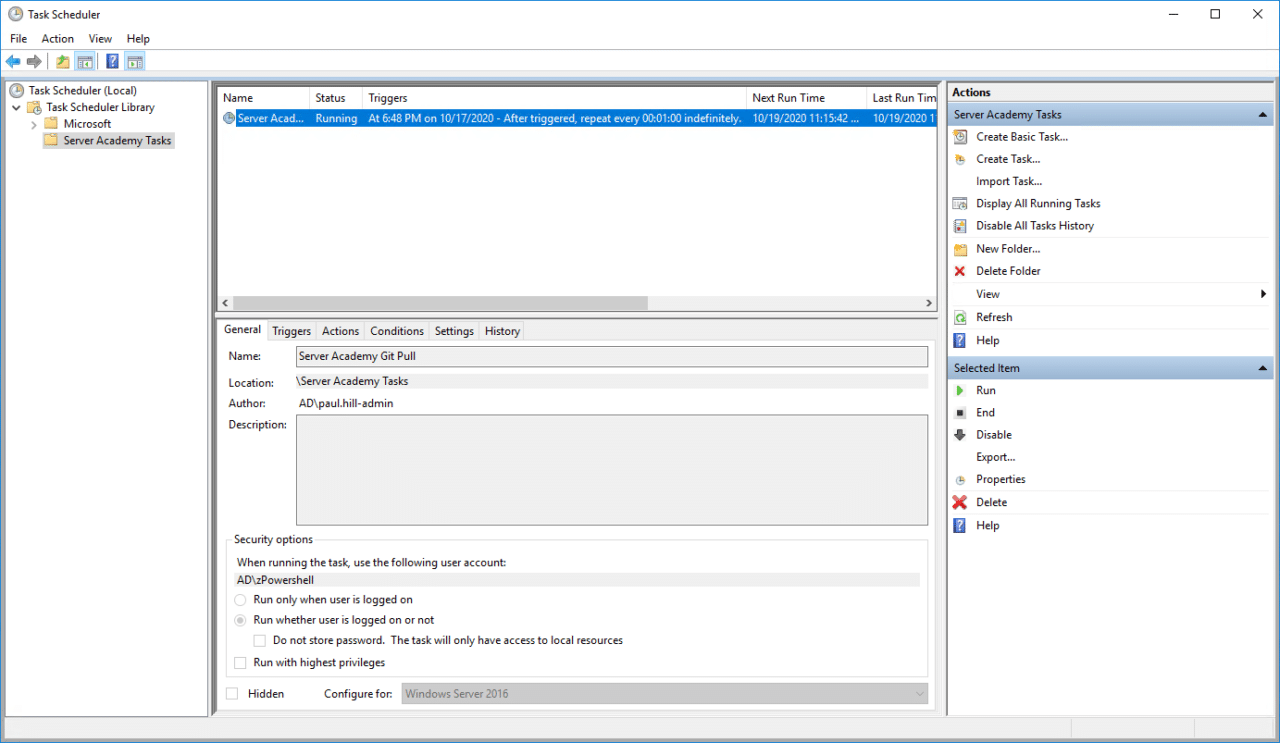
Now I have the new Scheduled Task created and it will keep my local repo in sync with GitHub.com!

If I go to my script directory and delete all the scripts then my scheduled task will fix this within 1 minute!


