Overview
I received an email from a student who wanted to centrally manage their computers WITHOUT a Windows Domain. Their company was merged and the new IT department wanted to implement their own Active Directory solution - so my student was stuck not being able to setup the new domain.
So in this tutorial, we are going to learn how you can centrally manage a group of workstations WITHOUT a Windows Domain. We will accomplish this with the two steps below:
- Create / export a local group policy template
- Import the Group Policy templates
- Either manually via File Share or USB Drive
- Automatically Deploy your Group Policy Template with PowerShell Remoting
This tutorial will ONLY work with Windows 10 Pro and NOT Home
Create the Local Group Policy template
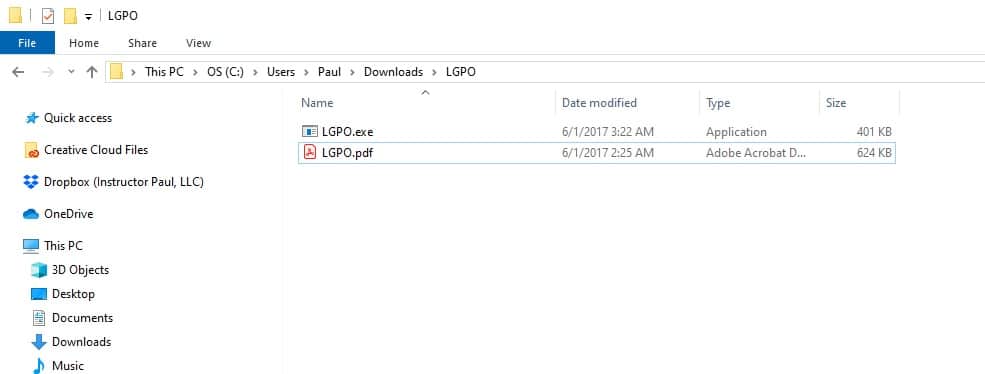
We are going to use a tool called LGPO.exe which can be downloable here | alternate download link. Once you download and extract the files you will have LGPO.exe and LGPO.pdf which is a manual for using the executable.
At this point we need open the local group policy editor and make our configuration changes that we want to be in our group policy template.
You can start the local group policy editor by clicking the Windows Button and searching for "gpedit.msc".

I'm going to edit the setting below just for testing purposes:
Computer Configuration > Administrative Templates > Control Panel > Personalization > Force a specific Start background: Enabled
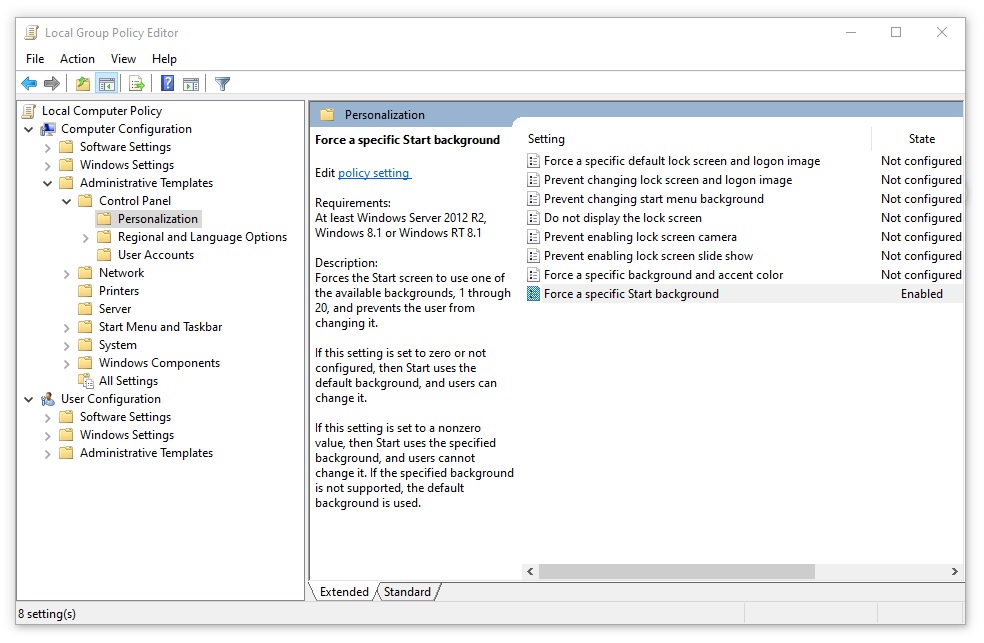
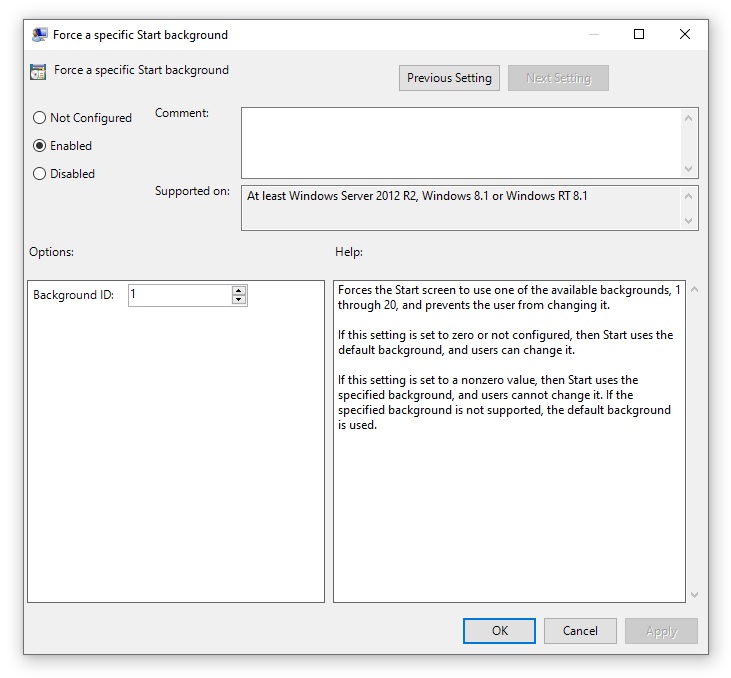
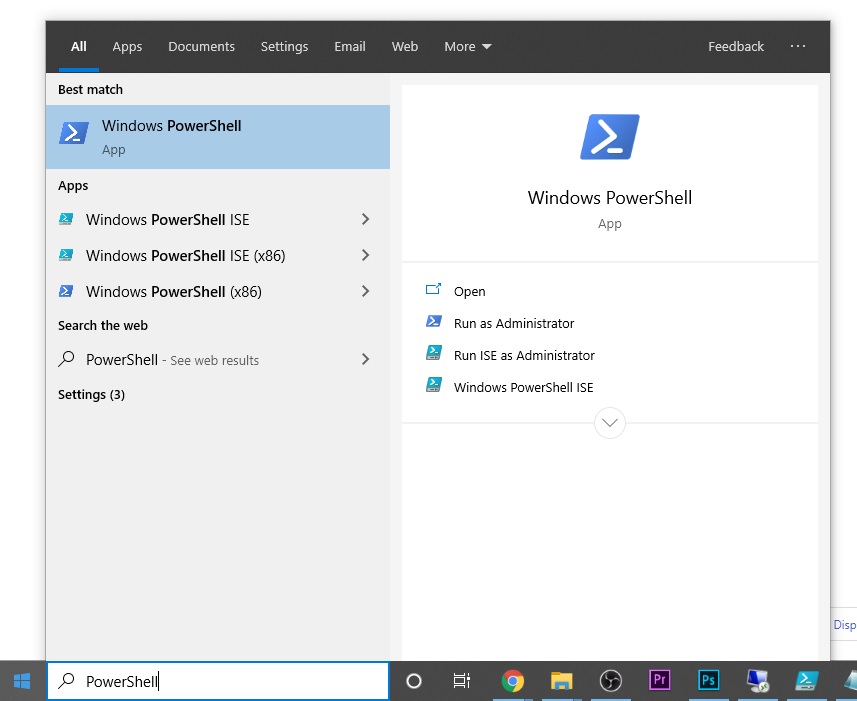
Now we are ready to export our local group policy template. Open Windows PowerShell by clicking the Windows button and search for and launch PowerShell as an administrator.
Next we are going to use PowerShell to create a directory for our GPO backup then CD to where we downloaded LGPO.exe and create the backup, and finally copy the LGPO.exe to the file share per the code below:
New-Item -Path "C:\" -Name "gpo_backup" -ItemType "directory"
cd "C:\Users\Paul\Downloads\LGPO"
.\LGPO.exe /b C:\gpo_backup\
Copy-Item -Path .\LGPO.exe -Destination C:\gpo_backup\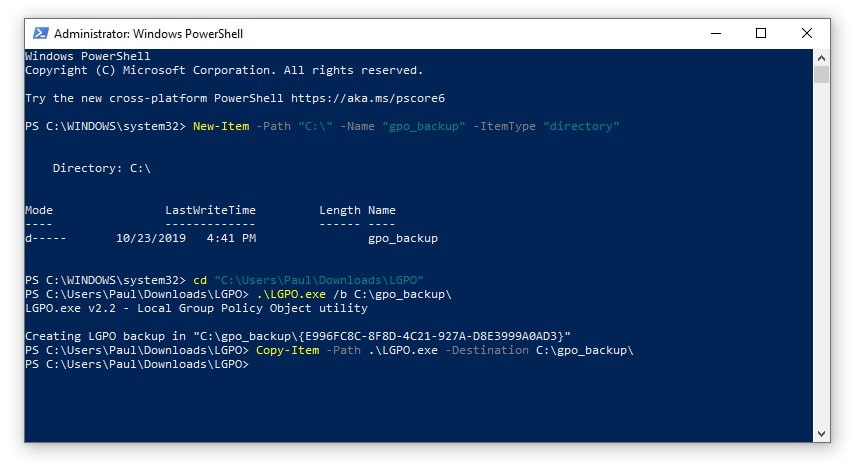
At this point our GPO template has been created. We can import it by using the LGPO.exe utility with the /g [path] argument.
Manually Importing the Group Policy Template
To import a group policy template you need the template folder as well as the LGPO.exe utility. You can transfer the template over any way you'd like whether its via USB drive or a file share, but in this article I am going to assume that your computers are connected on some type of network where you can create a file share so we will focus on this method for this section.
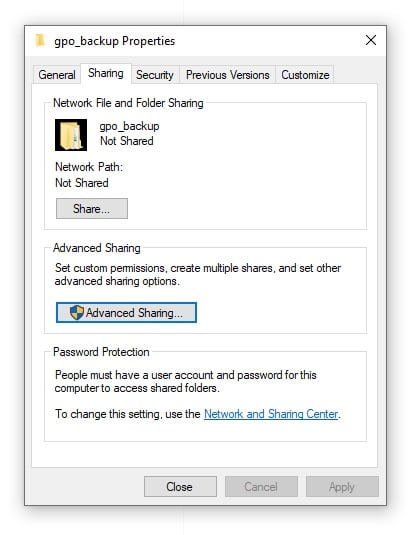
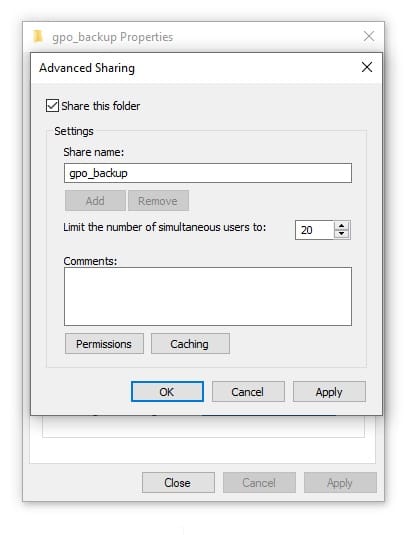
In the previous section we created the C:\gpo_backup folder and I am going to turn that into a file share. Right-click on the folder and click on the sharing tab, then select "Advanced Sharing". Click the Share this folder checkbox then select Permissions.
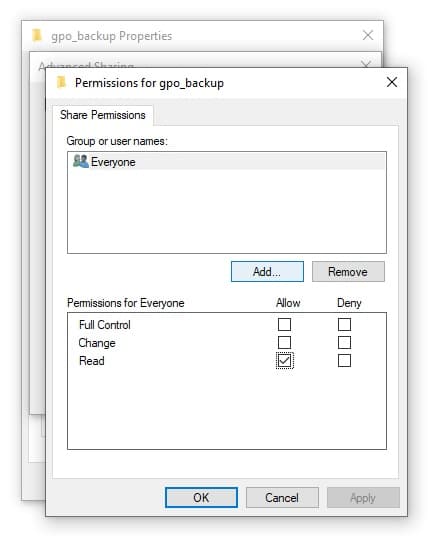
Next go under the Security tab and add "Everyone" with all permissions except for Full Control and Modify permissions.
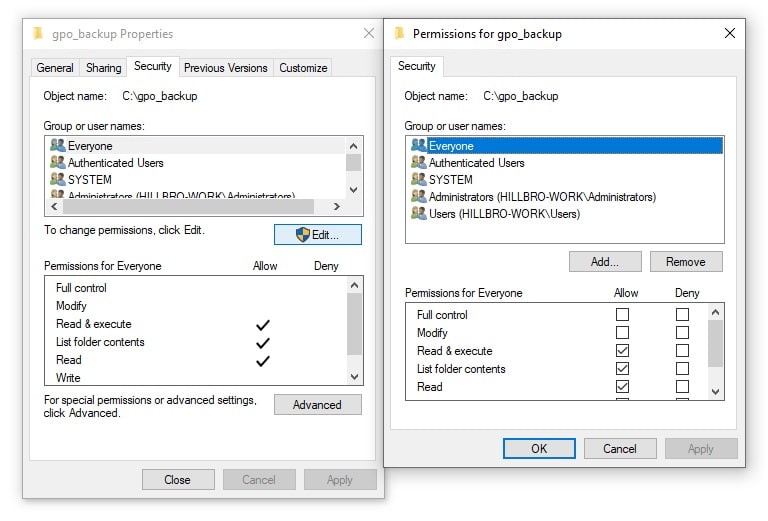
Keep in mind the default permissions will be everyone can read the directory. You can restrict this to a specific user account if you'd like, but we are going to proceed with the default options.
Next we need to make sure anyone with network access can get to our new shared folder, so we will turn this on by enabling the following options in the Control Panel:
Control Panel > Network and Internet > Network and Sharing Center > Advanced sharing settings > All Networks
- Check "Turn on sharring so anyone with network access can read and write files in the Public folders"
- Check "Turn off password protected sharing"
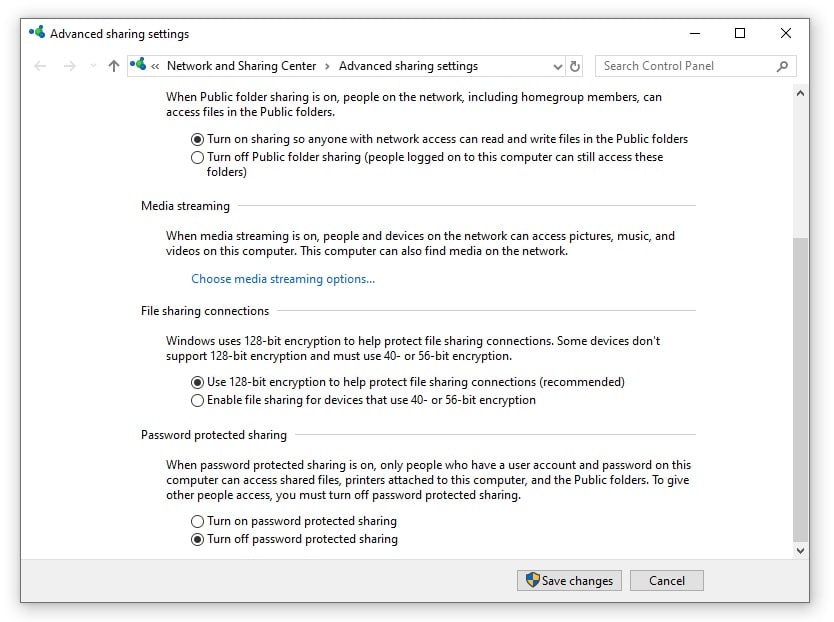
Again if you'd like you can make these settings more secure - but this works for what we need in our network. The last thing we need to do is run the PowerShell command below to get our TCP/IPv4 network address:
Get-NetIPConfiguration | Select-Object IPv4AddressThis command returns 192.168.1.76 so I can view our newly created file share by running the PowerShell command below:
explorer \\192.168.1.76\gpo_backup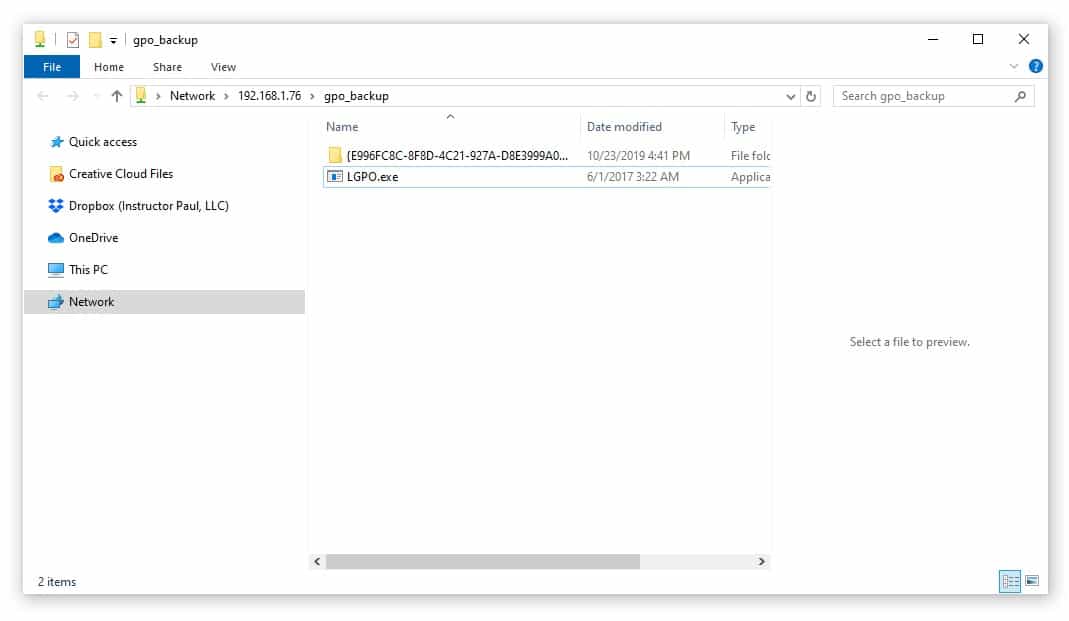
Now from any client computer that is on the same network as 192.168.1.76, open PowerShell as an administrator and run the following script:
# Copy the files
Copy-Item -Path \\192.168.1.76\gpo_backup\ -Destination C:\gpo_backup -Recurse

# Import local GPO
Start-Process C:\gpo_backup\LGPO.exe `
    -ArgumentList "/g C:\gpo_backup\{E996FC8C-8F8D-4C21-927A-D8E3999A0AD3} /q" `
    -Wait -NoNewWindow

# Delete directory
Remove-Item -Path c:\gpo_backup -Recurse
Now the GPO will be imported on the target machine and you can view the the settings by launching either gpedit.msc or rsop.msc.
What next?
Essentially the script we wrote above has a similar function to "gpupdate /force" which in a Windows domain is configured to run every 90 minutes or so.
It could be very beneficial to configure the script above to run once per day or once per hour by creating a scheduled tasks that executes the script above and therefore keeping your client computers updated with new changes that you make to the Group Polciy template.


